TD Watercolor
TouchDesigner · GLSL · tested on TouchDesigner 2025.33070, NVIDIA GPU · Magyarul
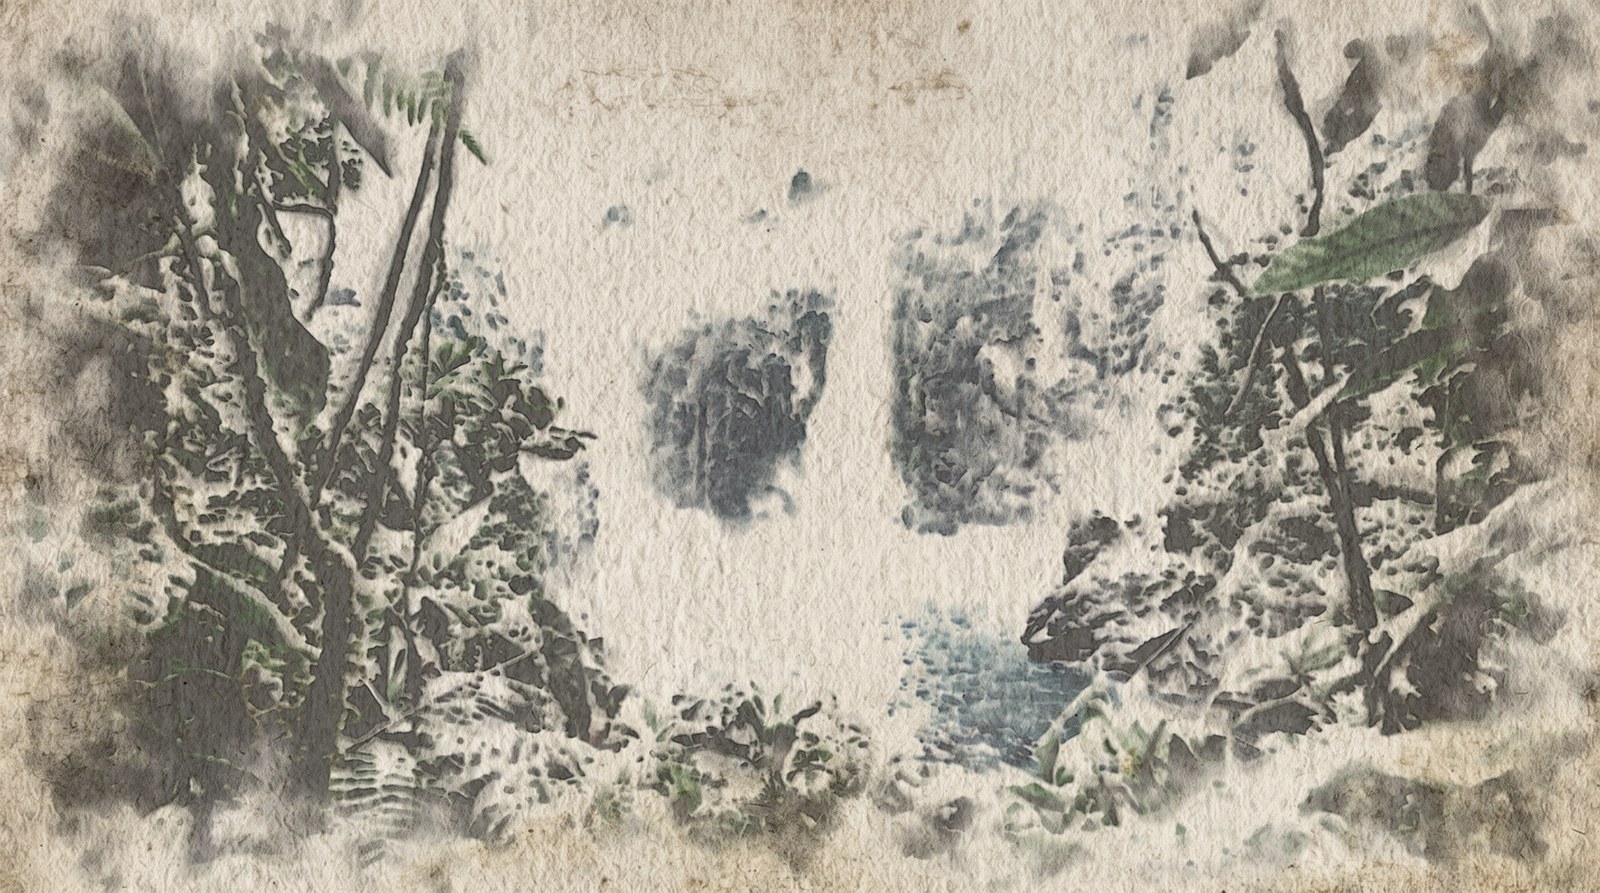
A watercolour that paints itself from footage. It is not a blur-and-feedback look: the video is the painter, and a small fluid simulation does the rest. Pigment and water move only on wet paper, dry at their own pace, pool at the edges of a wash, settle into the valleys of the paper and stay where they dried. On a moving camera shot the painting travels with the footage and repaints itself where it no longer matches.
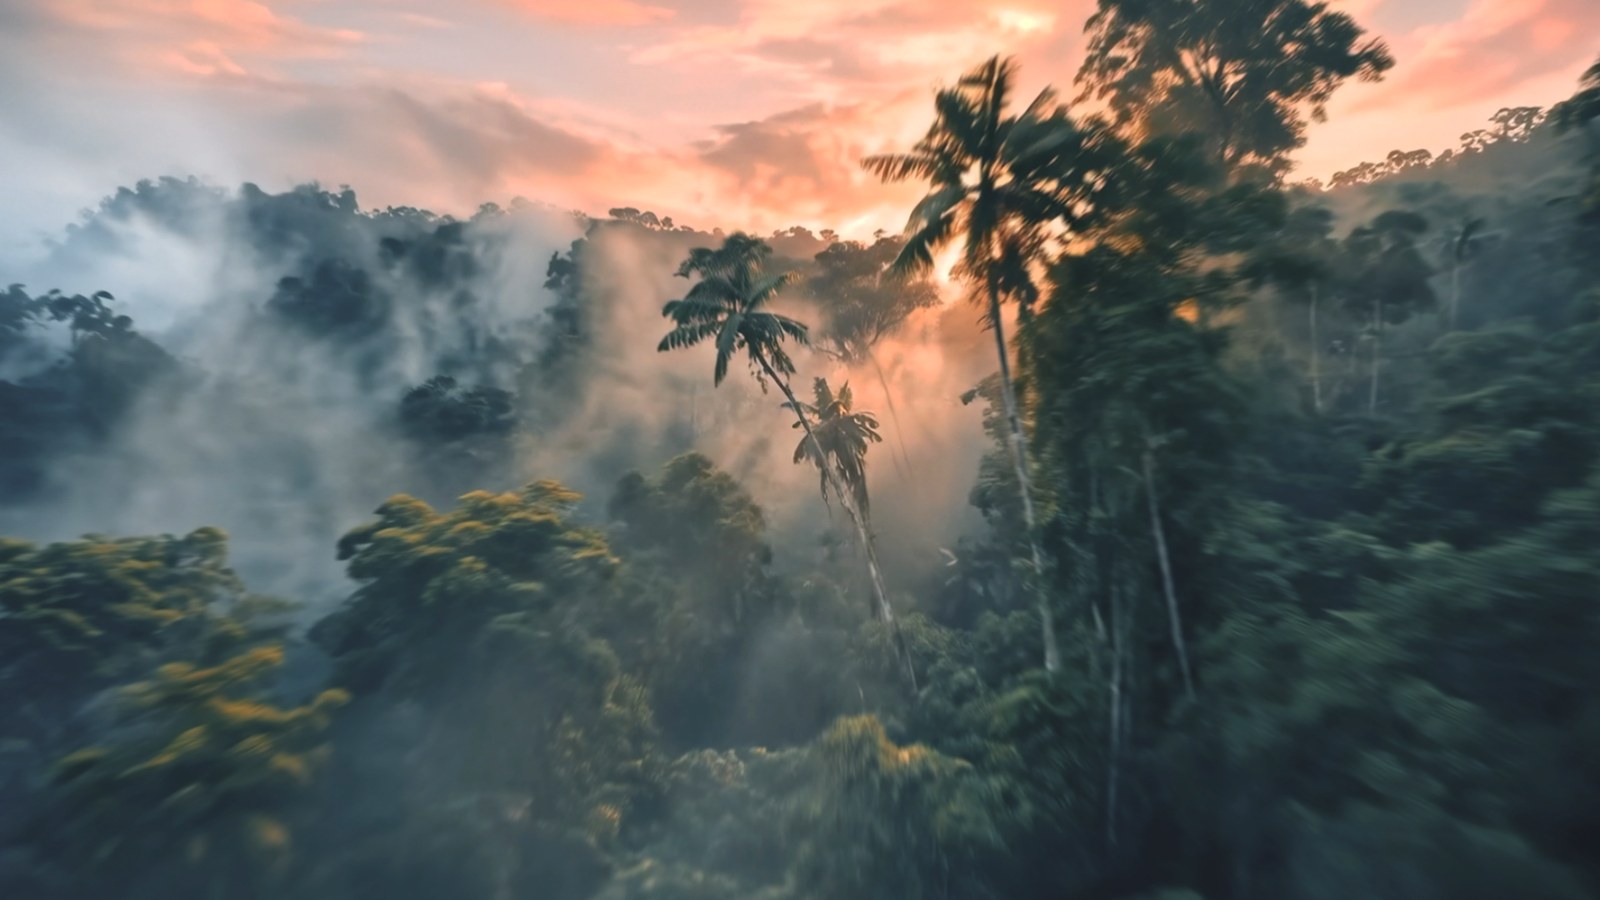
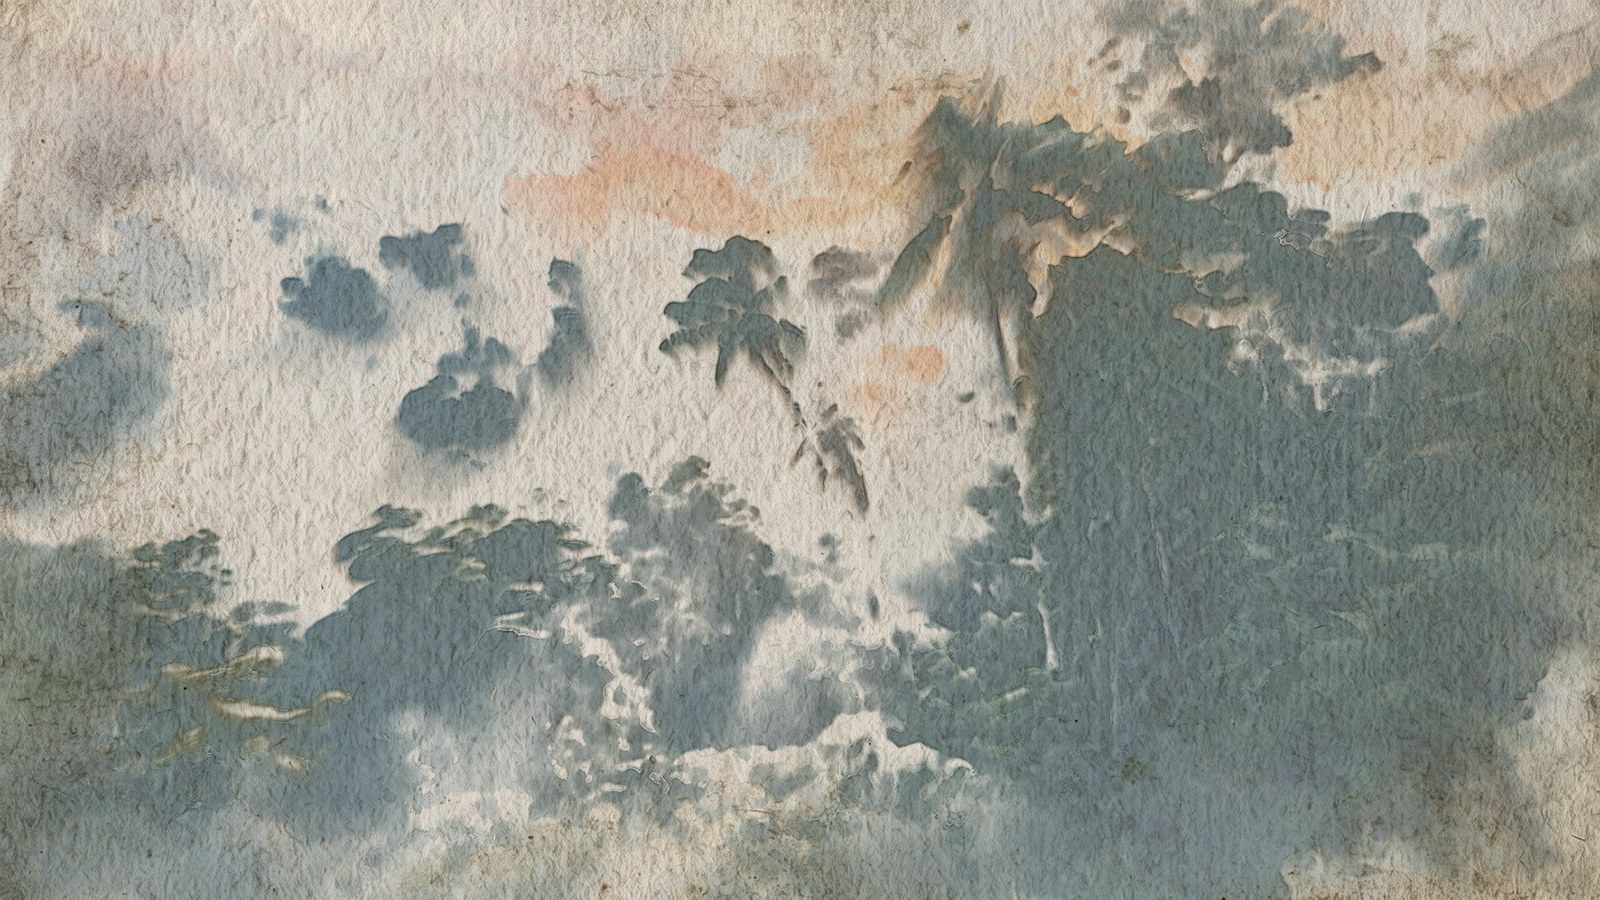
This page explains the watercolour ideas the effect is built on, lists every control of its two components (prep and wc_engine), gives the settings that worked best in our tests, and the steps to render a video or a single still.
Watercolour in a nutshell
The controls are named after what a watercolourist does. These are the ideas behind them, and where each one lives in the effect.
Paint is transparent: why everything goes light to dark
Watercolour has no white paint. Light passes through the pigment, bounces off the paper and passes through the pigment again. Two layers on top of each other always make a darker colour, like two sheets of tinted glass, so you can darken a painting but you cannot really lighten it. The whites of a watercolour are bare paper that was never painted. This is why a painter works from light to dark and plans the whites from the start.
The effect works the same way. It thinks in optical density: how much light a layer of pigment swallows. Densities add up, light gets multiplied (the Beer–Lambert law), and the painting can only get darker where pigment lands. In the effect the whites come from the prep mask: what the mask leaves out stays bare paper.
Wash
A wash is a layer of diluted paint laid over an area in one go, while it is wet. Inside a wash the colour is smooth, and its look comes from what happens at the edges and while it dries.
Glaze
A glaze is a transparent wash laid over an earlier one after that has dried. The new layer does not mix with the old one; it sits on top and darkens it like a filter. Painters build a picture from a few glazes: a light first glaze for the overall colour, then darker ones only where the picture needs more depth. Where a glaze ends on dry paper it leaves a crisp edge, so a stack of glazes shows layered, hard-edged shapes.
In the effect, Progress runs from 0 to 1 and lays down Glazes (3) one after the other. Each glaze is a wet front that sweeps across the frame. The first one may only reach a light density (First glaze max density), later ones get darker, and a later glaze only wets the paper where the picture still has to get darker. That gives the layered, hard-edged shapes of real glazing.
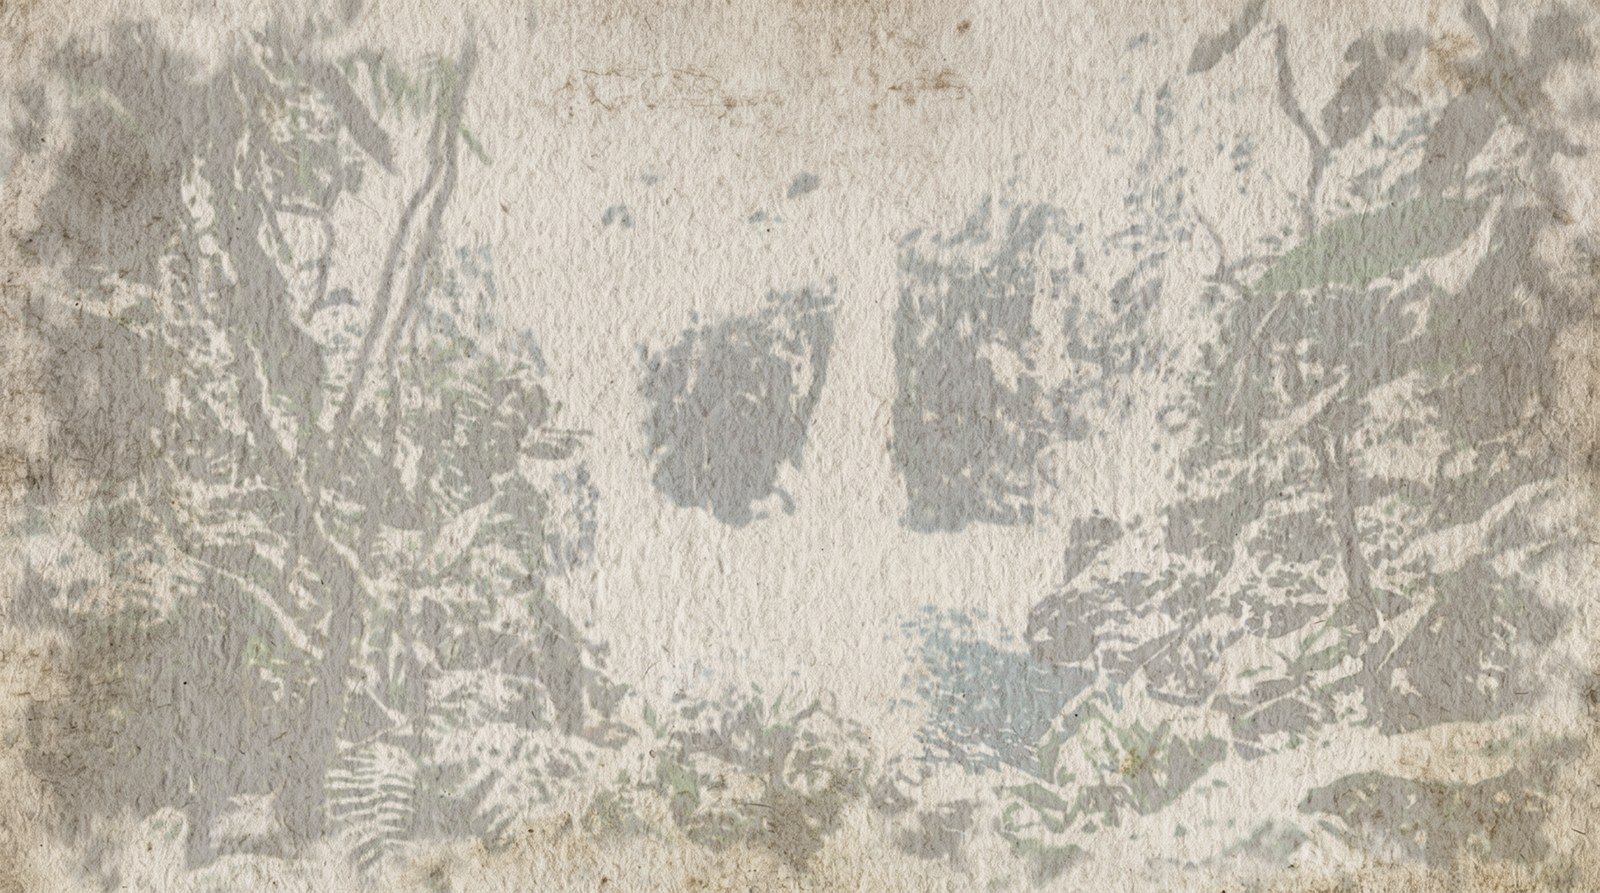
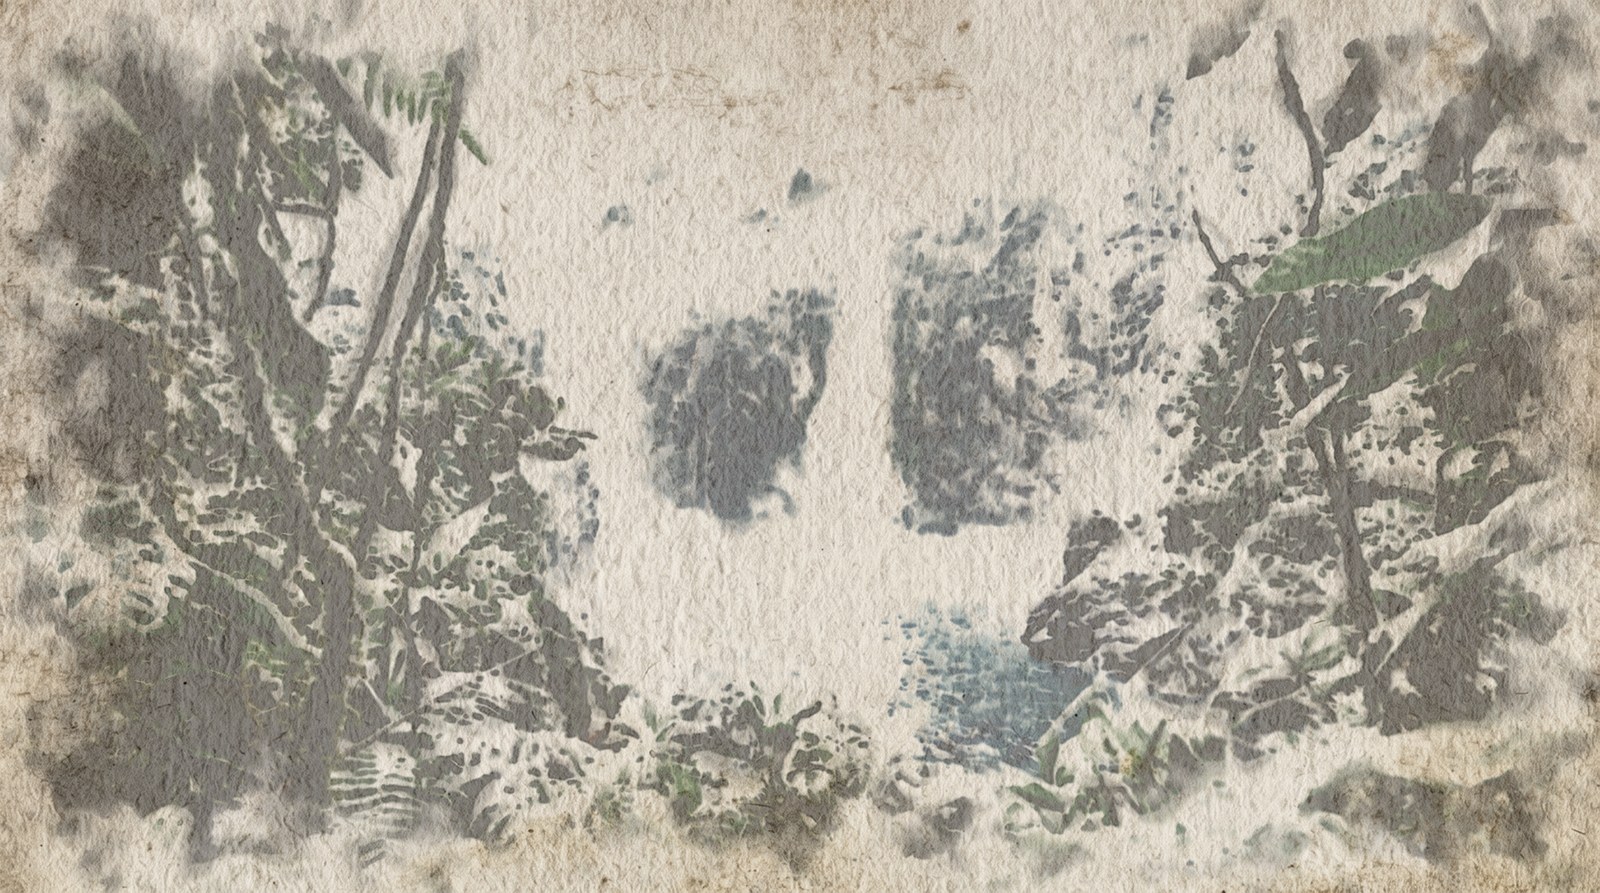
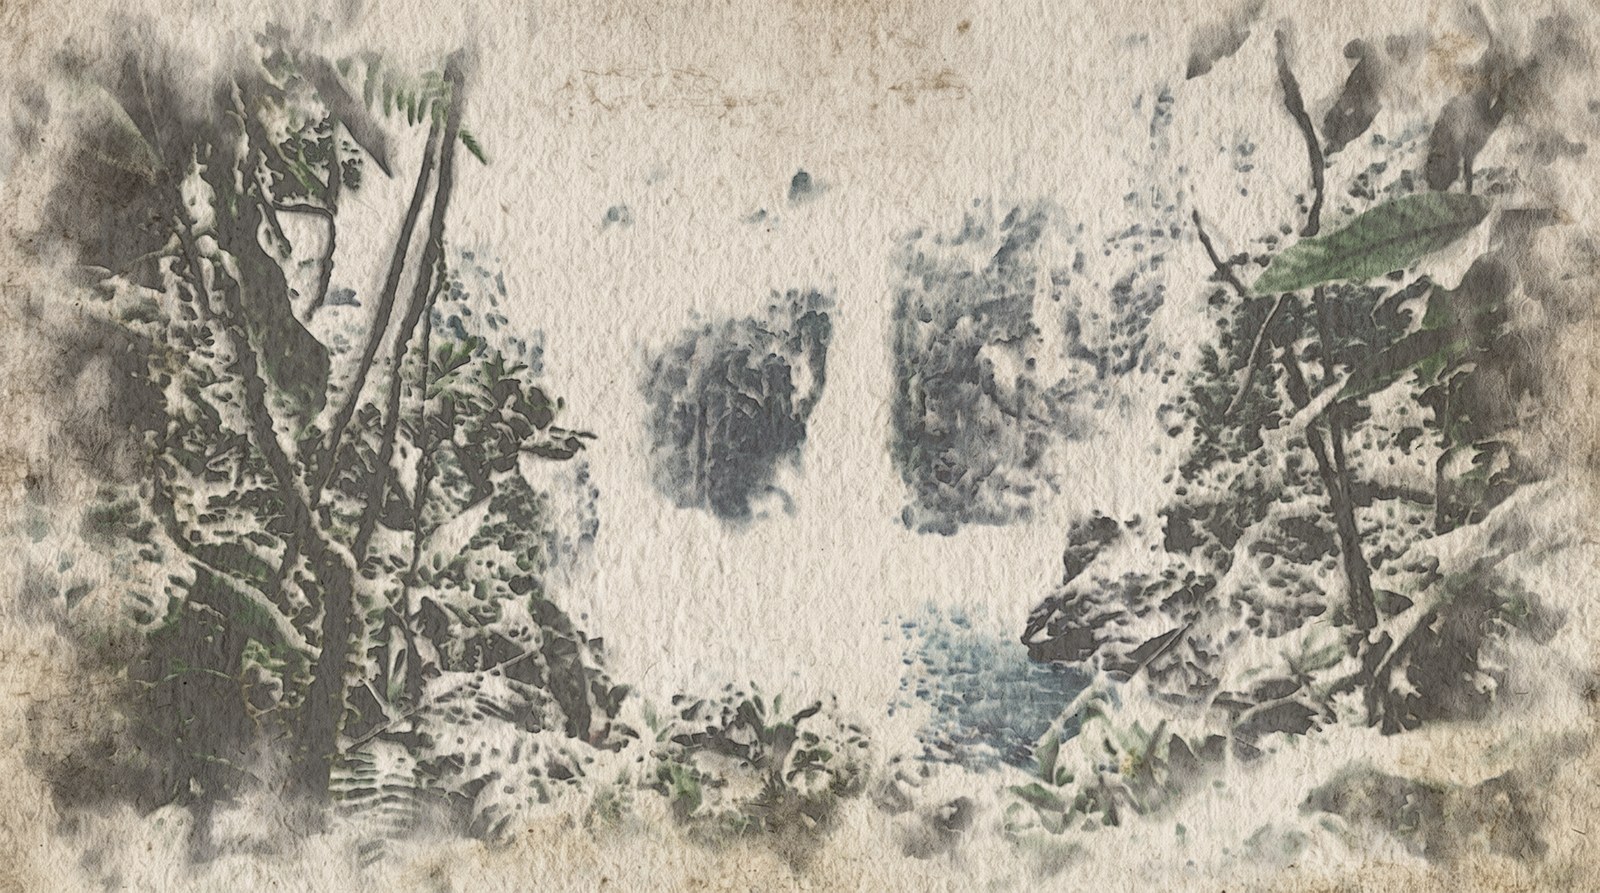
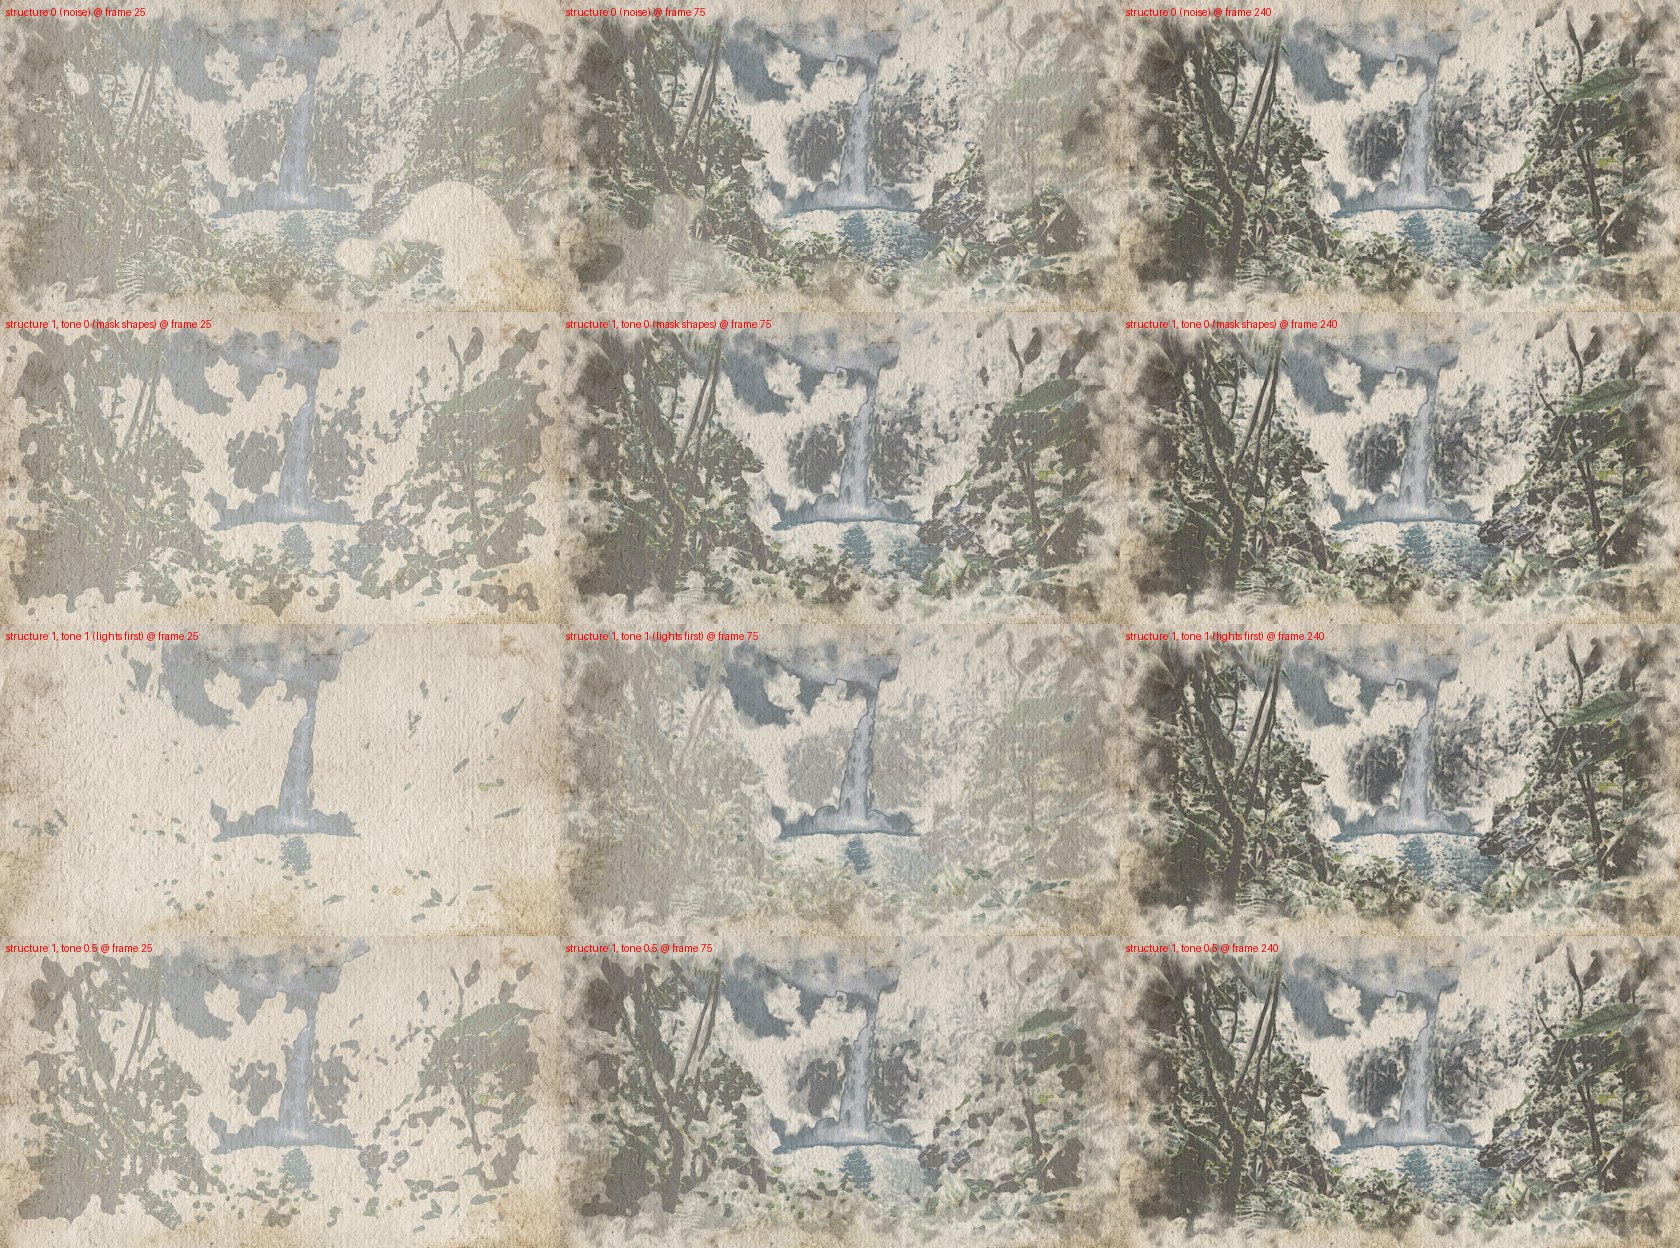
Where the wet front goes first. By default a noise pattern decides which areas a glaze reaches first, so the first washes appear as random, cloud-like patches. With Glaze order from the picture the footage decides instead: either the shapes of the paint mask grow from their core outwards, or the light areas are reached first, as a painter lays down the light and works around it. The finished painting is the same; the way it comes into being is different.

Wet-in-wet and wet-on-dry
Paint dropped into wet paper spreads softly and blends: wet-in-wet. Paint laid on dry paper stays where it is and keeps a hard edge: wet-on-dry. Most of a watercolour's character is the mix of soft and hard edges.
In the effect, how far paint can move depends on how much water is on the paper (Mobility starts at water, Full mobility at water). Wet paper lets pigment bleed and flow; on dry paper it stops. A dry neighbour acts as a wall.

Blooms and backruns
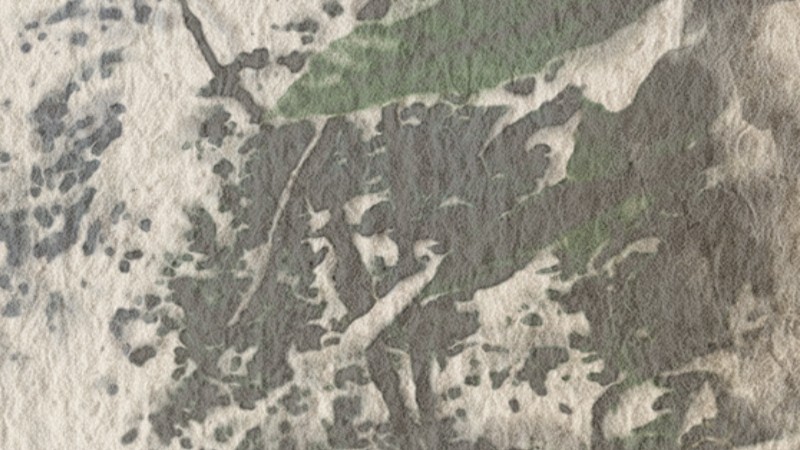
When water runs back into a wash that is already drying, it pushes the pigment outwards and leaves a pale centre with a ragged, darker rim: a bloom (also called a backrun or cauliflower). Painters fear and love it.
In the effect: Wet to dry push (water flows from wet towards dry paper) and Uneven paper sizing (some spots dry later than others).
Edge darkening
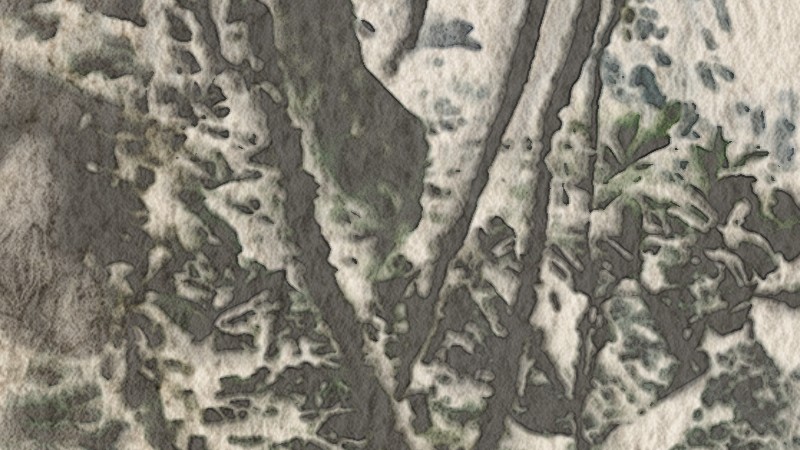
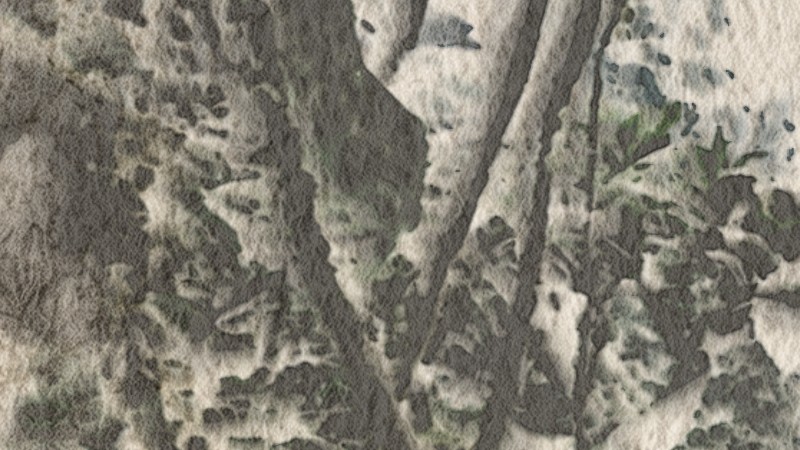
While a wash dries, the water flows towards its edge and carries pigment with it, so the border of a dried wash is darker than its middle, like a coffee ring.
In the effect: Edge darkening and Edge radius on the Look page.
Granulation
Some pigments are made of heavier grains. They do not stay suspended; they sink into the valleys of the paper and give a speckled, sandy texture.
In the effect: Granulation (the look) and Settle in valleys (pigment settles faster in the paper's valleys).
Lifting
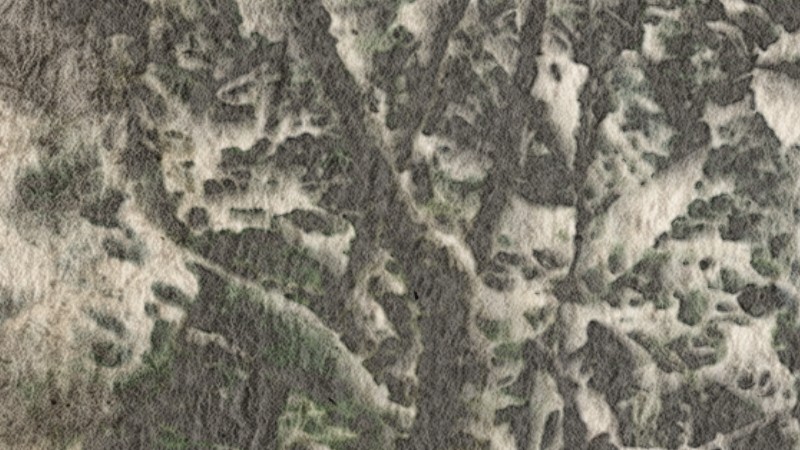
A wet brush or a damp tissue can pick pigment back up, even after it has dried, as long as it has not stained the paper. This is how painters soften an edge or pull a highlight back out.
In the effect: Lift wet pigment and Lift dried pigment. On moving shots this is also how the painting lightens areas where the footage got brighter.
Paper and sizing
Watercolour paper is textured. Cold-press paper has a bumpy surface; the bumps catch the brush (dry-brush strokes skip the peaks), and the valleys collect granulating pigment. Sizing is the glue in and on the paper that controls how fast it absorbs water; uneven sizing makes some spots dry later, which causes blooms.
In the effect: the Paper page (procedural cold-press paper, or your own scan on input 3), Dry brush, Uneven paper sizing, Fibre feathering.
Optical flow (moving shots)
A painting on paper does not move, but a camera does. Optical flow measures, for every pixel, where it moved between two frames. The effect uses it to carry the wet and the dried paint along with the footage, and repaints the areas that no longer match.
How it works
One frame, in order:
- prep turns the footage into a paint mask: a luminance threshold (lights, darks or both), broken by noise, with a feathered, torn frame border. The colour passes through untouched; the mask travels in the alpha channel.
- source (inside wc_engine) is the painter: it converts the footage into a target pigment density and decides where the wet brush is this frame.
- velocity → divergence → pressure (×20) → project is a small 2D fluid at a quarter of the resolution. Water only moves where the paper is wet.
- state is the wet layer (mobile pigment and water), fixed the dry layer (pigment that has settled into the paper).
- display turns density into colour on paper (Beer–Lambert), with edge darkening, granulation, paper relief and a wet sheen.
With a moving camera the painting is carried along by the footage's optical flow, and repaint dabs freshen up the areas where it no longer matches the video.
Using wc_engine.tox
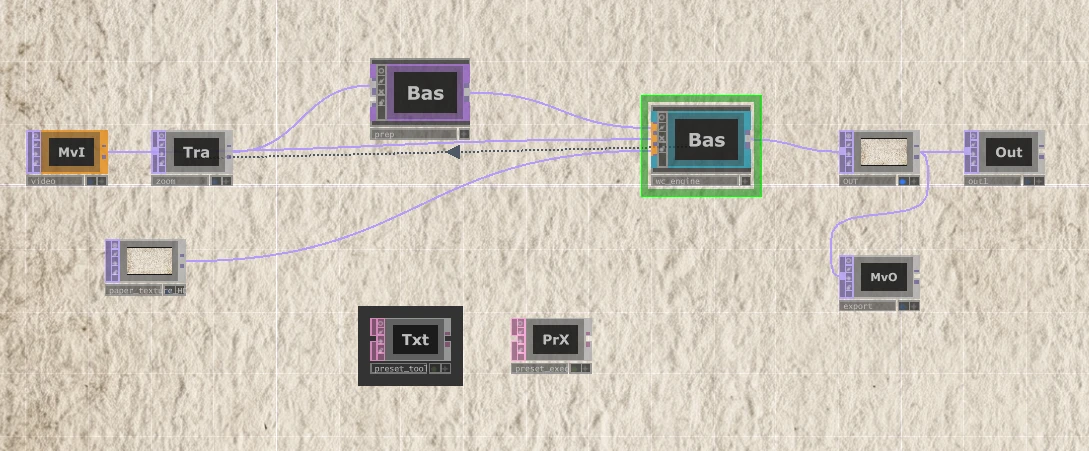
wc_engine.tox is the simulation on its own, self-contained: the shaders are embedded, it does not need any file next to it. Drag it into a network, connect the footage to input 1 (and optionally the motion footage to input 2 and a paper scan to input 3), and animate Paint → Progress. A README DAT inside lists the inputs and a quick start.
- The paint mask comes from the alpha of input 1. Without a prep chain the footage is usually opaque, so everything gets painted. Put a threshold or any matte into the alpha to keep paper white.
- Reset is a plain toggle in the .tox. For renders give it the expression
me.time.frame <= 2, as the rig does. - Optical flow (moving shots) needs an NVIDIA GPU.
- Exported from TouchDesigner 2025.33070. Checked after export: loaded back and run next to the original engine, frame 60 was identical to the last pixel.
prep.tox is the paint-mask chain on its own, also self-contained. Connect the footage to its input 1 (and optionally a key branch to input 2) and its output to input 1 of wc_engine: footage → prep → wc_engine. A README DAT inside explains the pages. Checked the same way: identical to the original, automatic threshold included.
Names and the rig
| Name | What it is |
|---|---|
wc_engine |
The simulation (Base COMP). All painting controls are on its parameter pages. This is the part that becomes a .tox. |
prep |
The preprocessing chain: threshold, paint mask, frame border. |
watercolor_rig |
The video setup: video → zoom → prep → wc_engine → OUT, plus export (Movie File Out). |
still_test |
The same chain for a single image: still → prep → wc_engine → OUT. |
wc_engine inputs
- paint: the footage that becomes the painting. Its alpha is the paint mask (0 = bare paper, soft values = a thinner wash).
- motion (optional): the footage the optical flow is computed from. Feed it the clean, un-zoomed footage. When nothing is connected, input 1 is used.
- paper (optional): a paper scan or photo, used when Paper → Use paper input is on.
prep inputs
- The footage. Its colour is what gets painted.
- key (optional): when connected, the threshold is computed from this instead. Put a Levels / desaturate branch here to shape the mask without changing the colours that get painted.
Presets
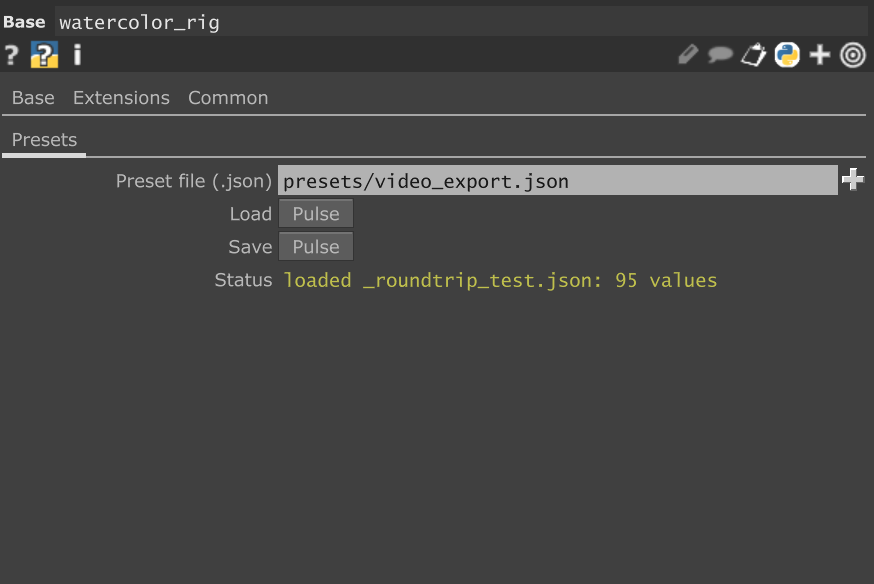
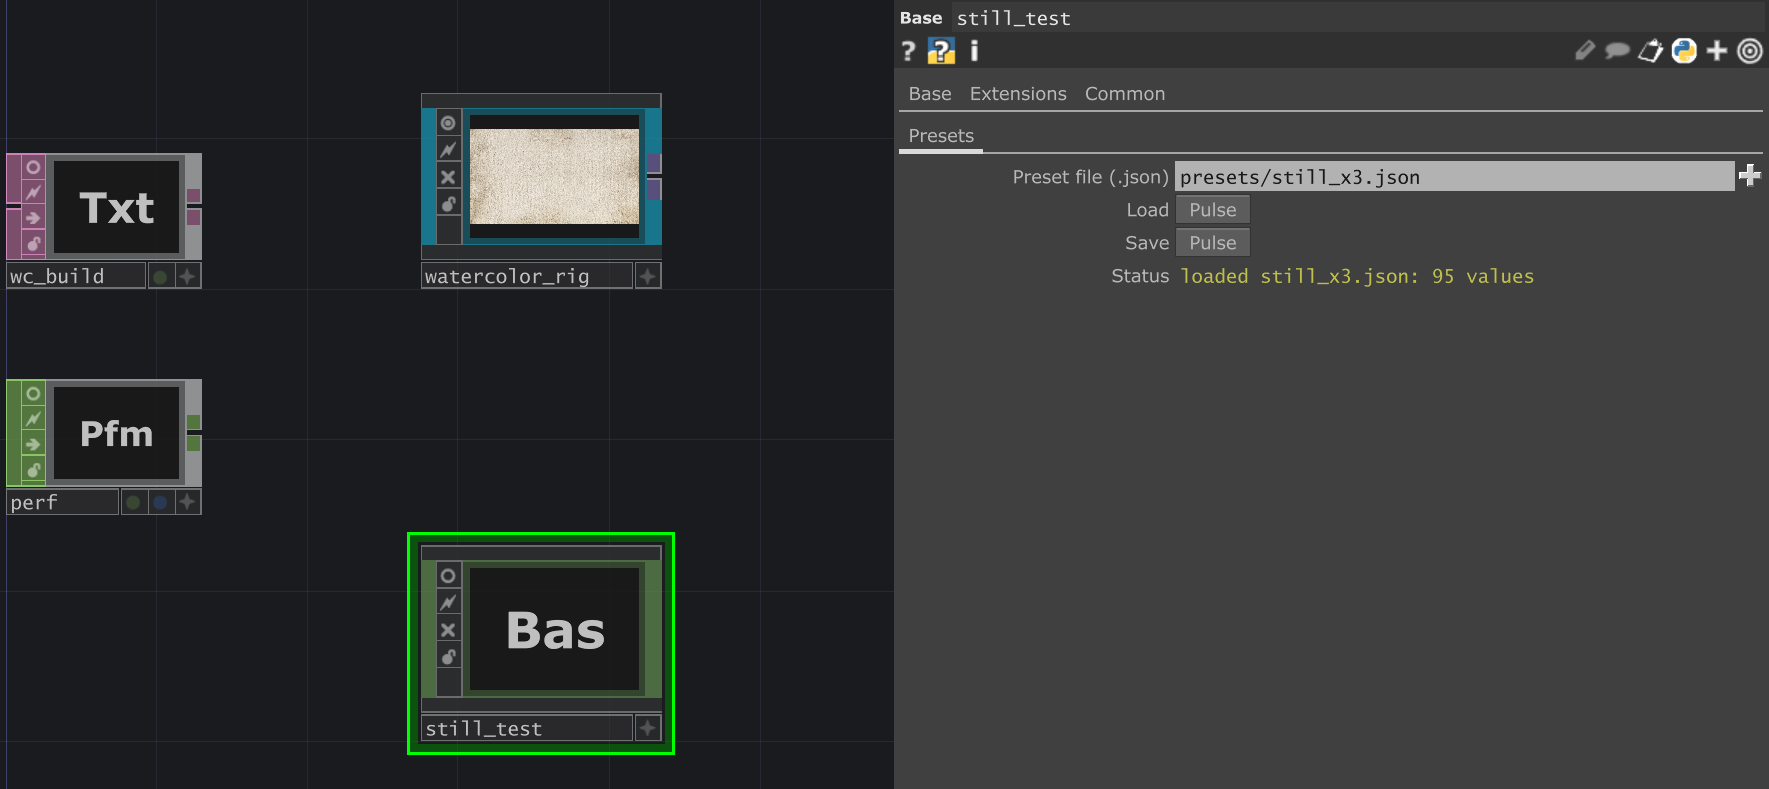
On the Presets page of watercolor_rig and still_test:
| Control | What it does |
|---|---|
| Preset file | The JSON file, relative to the project folder (presets/…) or absolute. |
| Load | Applies the preset to wc_engine and prep. |
| Save | Writes the current state to the file. For a new preset type a new file name first, otherwise the existing file is overwritten. |
| Status | What happened last, for example loaded video_export.json: 95 values. |
A preset stores fixed values and expressions (such as the Progress animation). It leaves out Reset and Width / Height / Sim FPS, which follow the input. Controls that a preset does not contain keep their current value when it is loaded.
prep: the paint mask
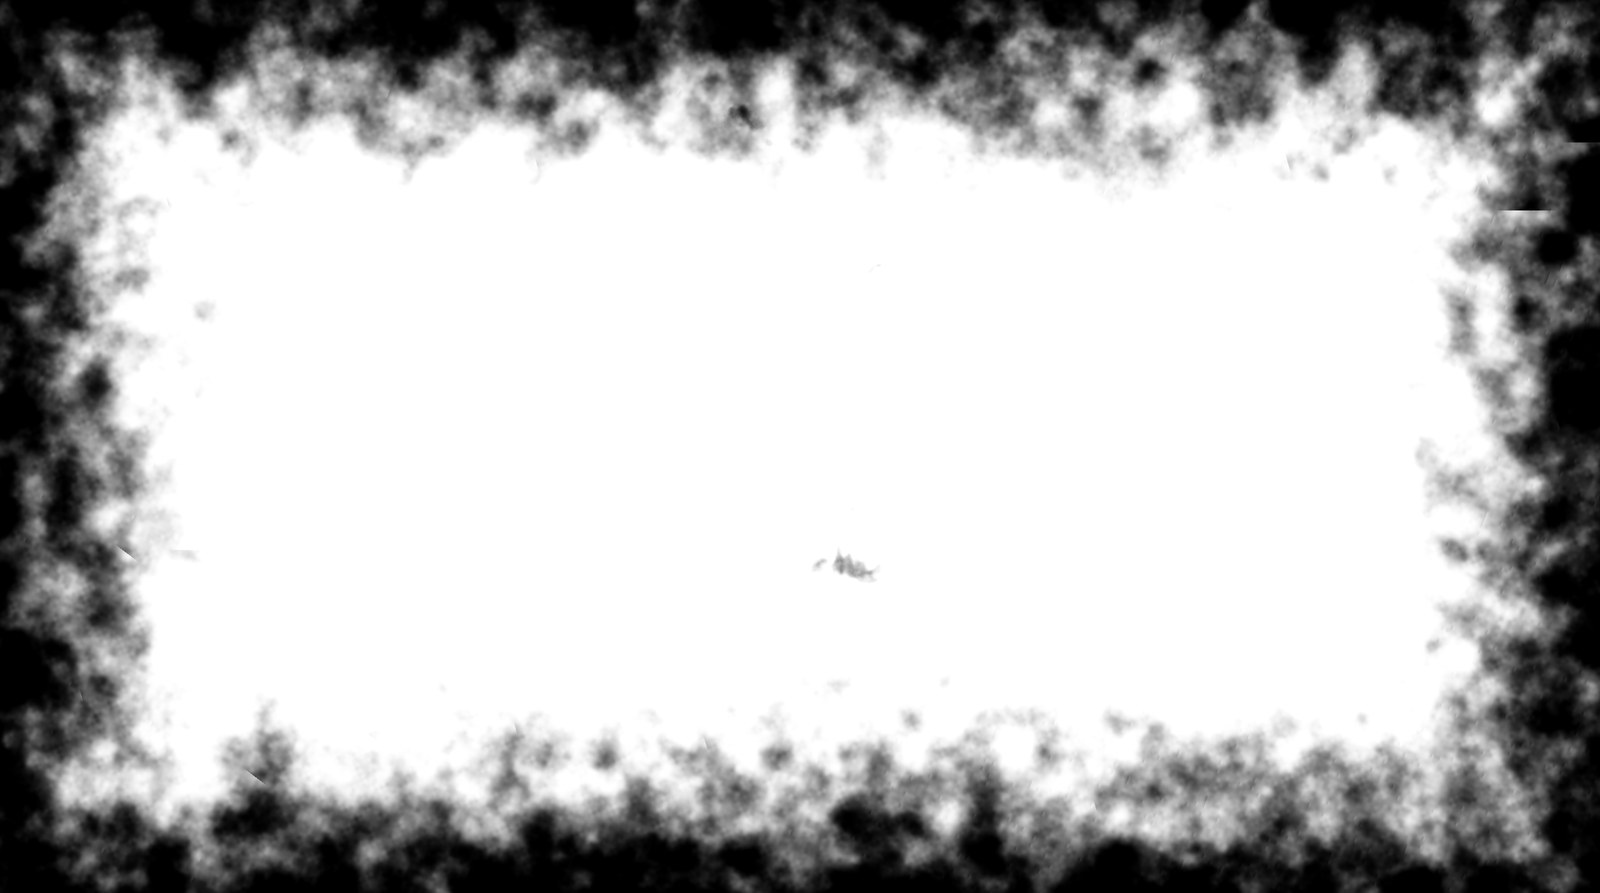
The prep decides where the paper stays white. A painter leaves the lightest parts of a subject unpainted; prep does the same with a threshold on the footage's brightness. Everything outside the mask stays bare paper, soft mask values give a thinner wash, and a torn, feathered border keeps the painting from running to the frame edge, like a sketch on a larger sheet.
Mask
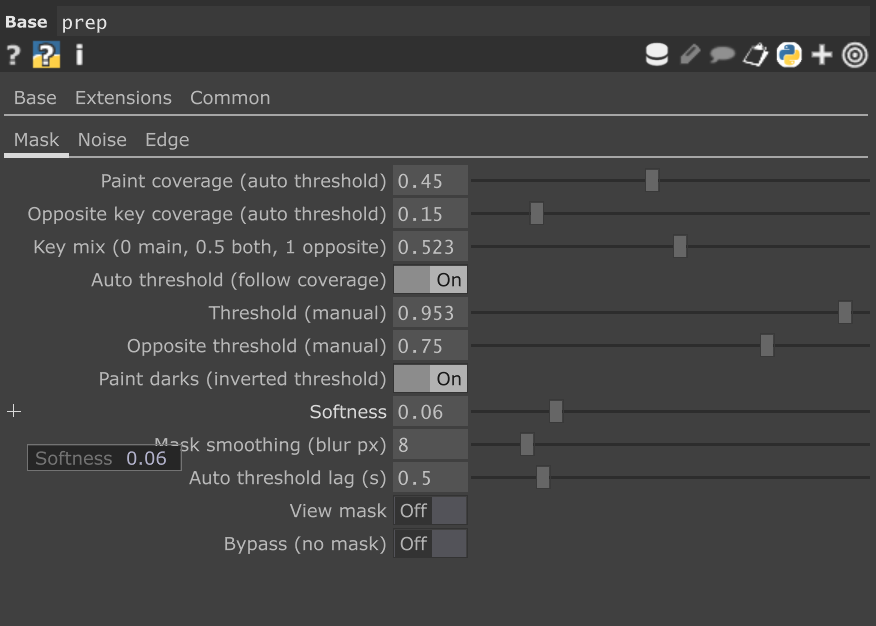
| Control | Default | What it does |
|---|---|---|
| Paint coverage | 0.3 | How much of the frame the main key paints (0.3 = about 70 % stays bare paper). With Auto threshold on, the luminance cut is chosen every frame to hit this coverage. |
| Opposite key coverage | 0.15 | The same for the opposite key, which takes the other end of the tone scale. |
| Key mix | 0 | 0 = main key only, 0.5 = both keys (the mid tones open up), 1 = opposite key only. |
| Auto threshold | on | Follow the coverage values. Off = use the manual thresholds below. |
| Threshold / Opposite threshold | 0.35 / 0.75 | Manual luminance cuts, used when Auto threshold is off. |
| Paint darks | on | The main key paints the darks (inverted threshold) and the opposite key the lights. Off swaps them. |
| Softness | 0.06 | Width of the soft cut, in luminance. |
| Mask smoothing | 8 px | Blur of the key, so the mask follows shapes rather than single pixels. |
| Auto threshold lag | 0.5 s | Smooths the automatic cut over time, so the mask does not flicker. |
| View mask | off | Shows the mask instead of the image. |
| Bypass | off | Passes the image on without a mask. While this is on, nothing else in prep has a visible effect. |
Why a fixed threshold is not enough. A drone shot goes from a bright sunset sea to a dark jungle. One fixed cut would punch 90 % of one scene and 20 % of the other. Paint coverage asks for a share of the frame instead, and the cut is recomputed every frame.
Auto threshold works on the pixel ranking. "Paint 30 % of the frame" depends only on which pixels are darker than which. A Levels, gamma or contrast change on the key keeps that ranking, so the cut simply moves with it and the mask stays the same. Desaturating changes the mask only as far as it changes how bright the colours are relative to each other. To shape the mask with Levels, turn Auto threshold off and set the thresholds by hand.
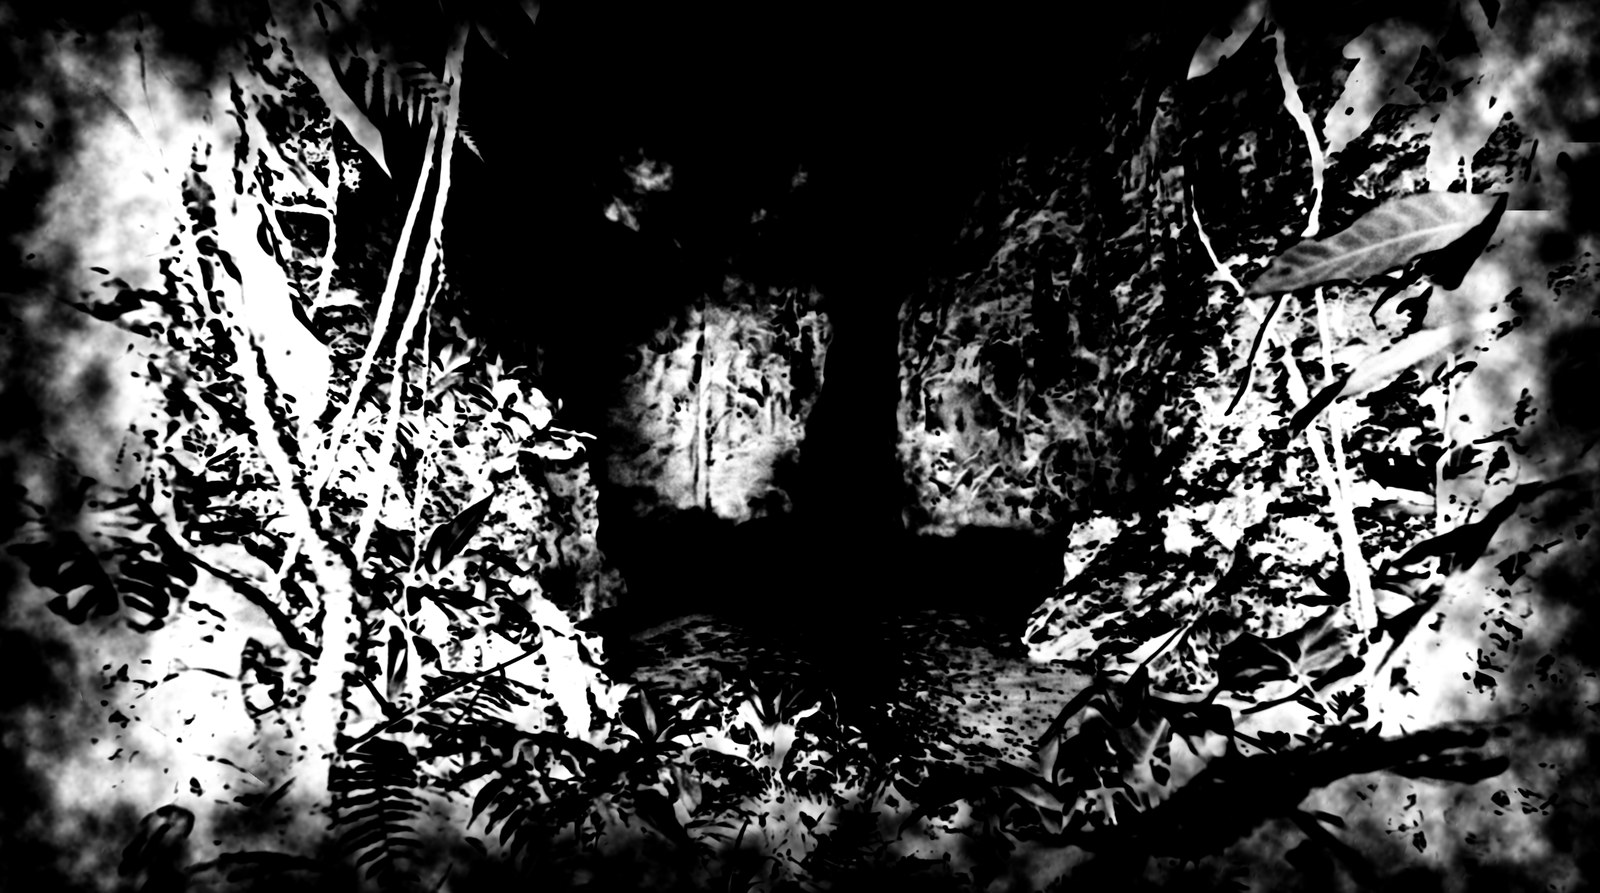
Two keys. One threshold paints one end of the tones. On a waterfall shot, painting only the darks (coverage 0.45) melted the waterfall, the mist and most of the cliff into one bare-paper hole. With Key mix 0.5 and an opposite coverage of 0.15 the waterfall, the mist and the foam got a mask too, the mid-tone cliff opened up, and the waterfall read as a shape again (painted area 26 % → 37 %). Being white, these areas only receive a pale wash.

Noise
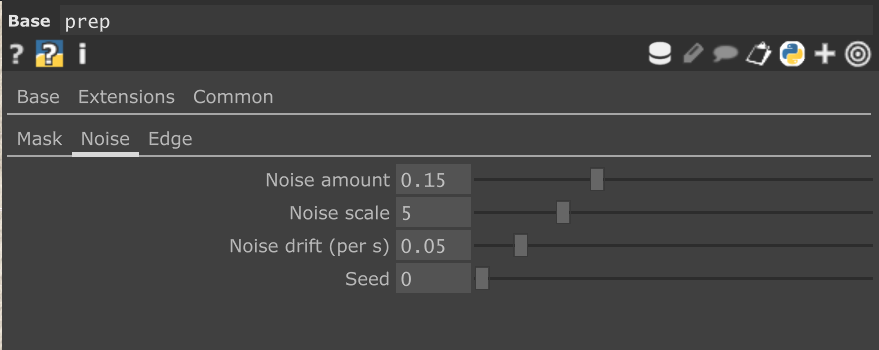
| Control | Default | What it does |
|---|---|---|
| Noise amount | 0.15 | How far the noise shifts the cut, which breaks the mask edge into brush-like shapes. |
| Noise scale | 5 | Noise cells across the frame height. |
| Noise drift | 0.05 /s | How fast the noise drifts. |
| Seed | 0 | A different noise pattern. |
Edge
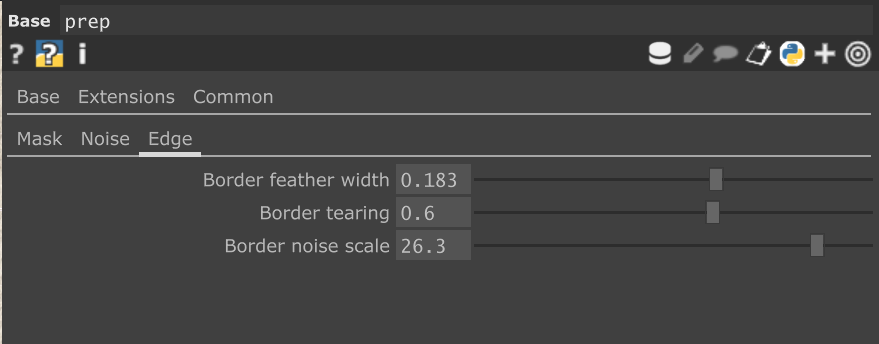
| Control | Default | What it does |
|---|---|---|
| Border feather width | 0.08 | Feathered frame border, in frame heights: 0 at the frame edge, 1 at this distance. 0 = no border. |
| Border tearing | 0.6 | How much noise tears the border. |
| Border noise scale | 6 | Size of the tears. |
The rig's zoom runs before prep, so the border stays inside the final frame.
wc_engine: Paint
This page is the painter's plan: in how many glazes the picture goes down, how dark each may be, in what order the brush reaches the areas, and, on moving shots, how the painting is repainted where it no longer matches the footage.
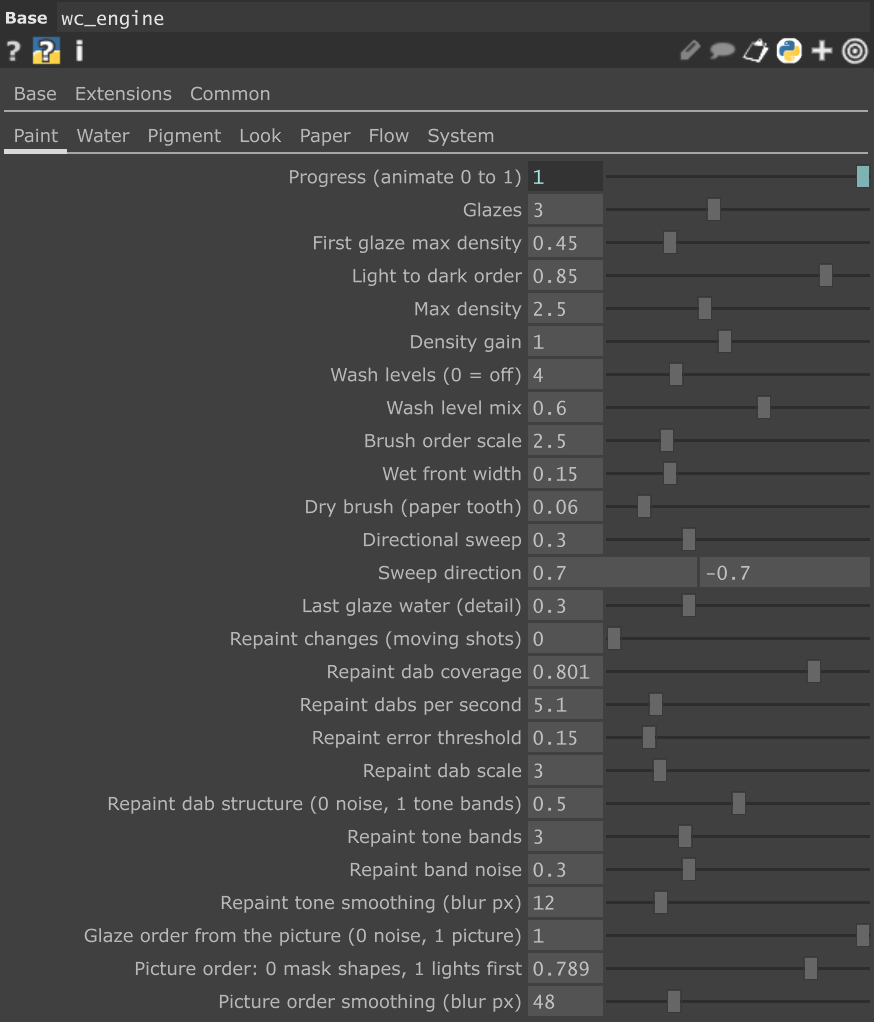
| Control | Default | What it does |
|---|---|---|
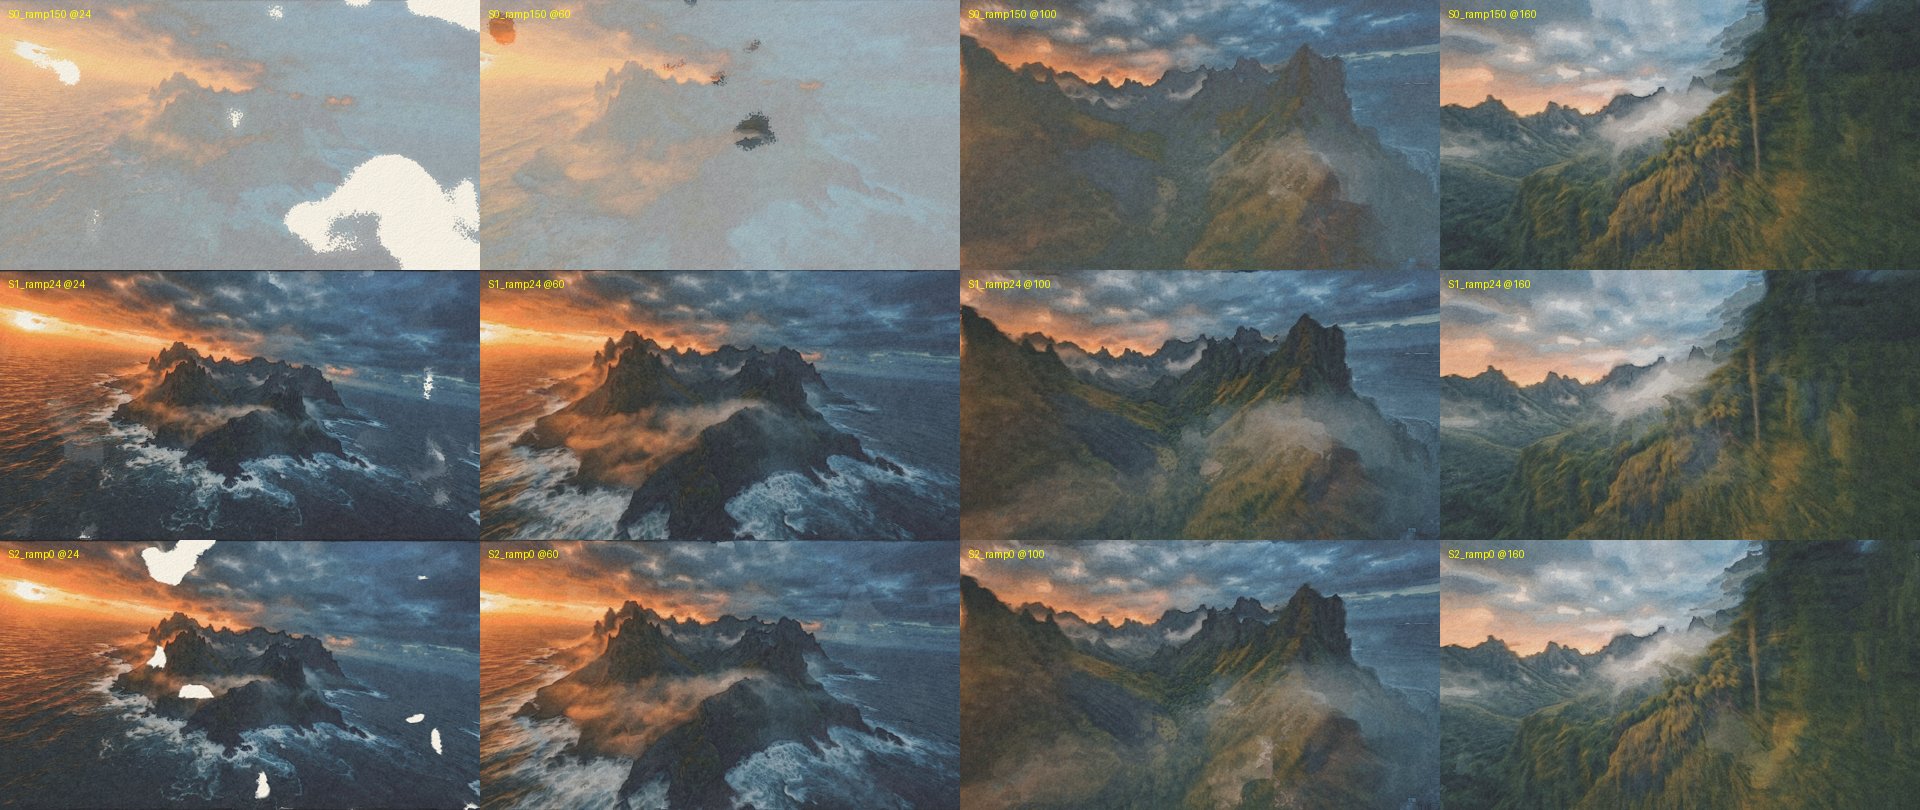
| Progress | 0 | Painting progress, 0 → 1. Animate it: min(1, max(0, (me.time.frame - 1) / 150)) paints over 150 frames. On a moving shot use about 24 frames: a long reveal looks like a dimmed, frozen picture for several seconds. |
| Glazes | 3 | How many glazes go down while Progress runs (see Glaze above). |
| First glaze max density | 0.45 | The darkest the first glaze may go: lights first, darks last. |
| Light to dark order | 0.85 | 0 = every glaze may go fully dark, 1 = strictly light to dark. |
| Max density | 4 | The densest pigment. Dark footage is compressed softly, because real pigment never reaches black. 2.5 keeps darks from turning black and keeps their colour. |
| Density gain | 1 | Overall pigment strength of the target. |
| Wash levels / Wash level mix | 4 / 0.35 | Quantises the wash strength into a few flat levels, like a painter working with a handful of tones (0 = off), mixed in by this amount. |
| Brush order scale | 2.5 | Size of the noise that decides which areas the wet front reaches first: the size of the brush shapes. |
| Wet front width | 0.15 | Width of the wet band behind the advancing front. |
| Dry brush | 0.06 | The paper relief breaks the wet edge, as a brush skips the peaks of the paper. |
| Directional sweep / Sweep direction | 0.3 / (0.7, −0.7) | 0 = the front follows the noise only, 1 = a sweep across the frame in this direction. |
| Last glaze water | 0.3 | Water of the last glaze relative to the first: drier detail strokes at the end. |
| Glaze order from the picture | 0 | Which areas a glaze reaches first. 0 = a noise pattern (random patches), 1 = the picture decides (see Picture order). The finished painting does not change, only how it comes into being. |
| Picture order | 0.5 | 0 = the shapes of the paint mask grow from their core outwards, 1 = the light areas are painted first, in between a mix. |
| Picture order smoothing | 48 px | Blur of the picture before it sets the order. Larger = broader, calmer growth. |
| Repaint changes | 0 | For moving shots: how strongly the areas that no longer match the footage are repainted. 0.8 on a drone shot. |
| Repaint dab coverage | 0.35 | The part of the frame a repaint pattern covers. On our drone shot 0.35 left large unpainted holes and 0.5 did not. |
| Repaint dabs per second | 4 | How often the pattern moves on. Patterns cross-fade, they do not jump. |
| Repaint dab scale | 3 | Size of the noise-shaped dabs. Higher = smaller dabs. |
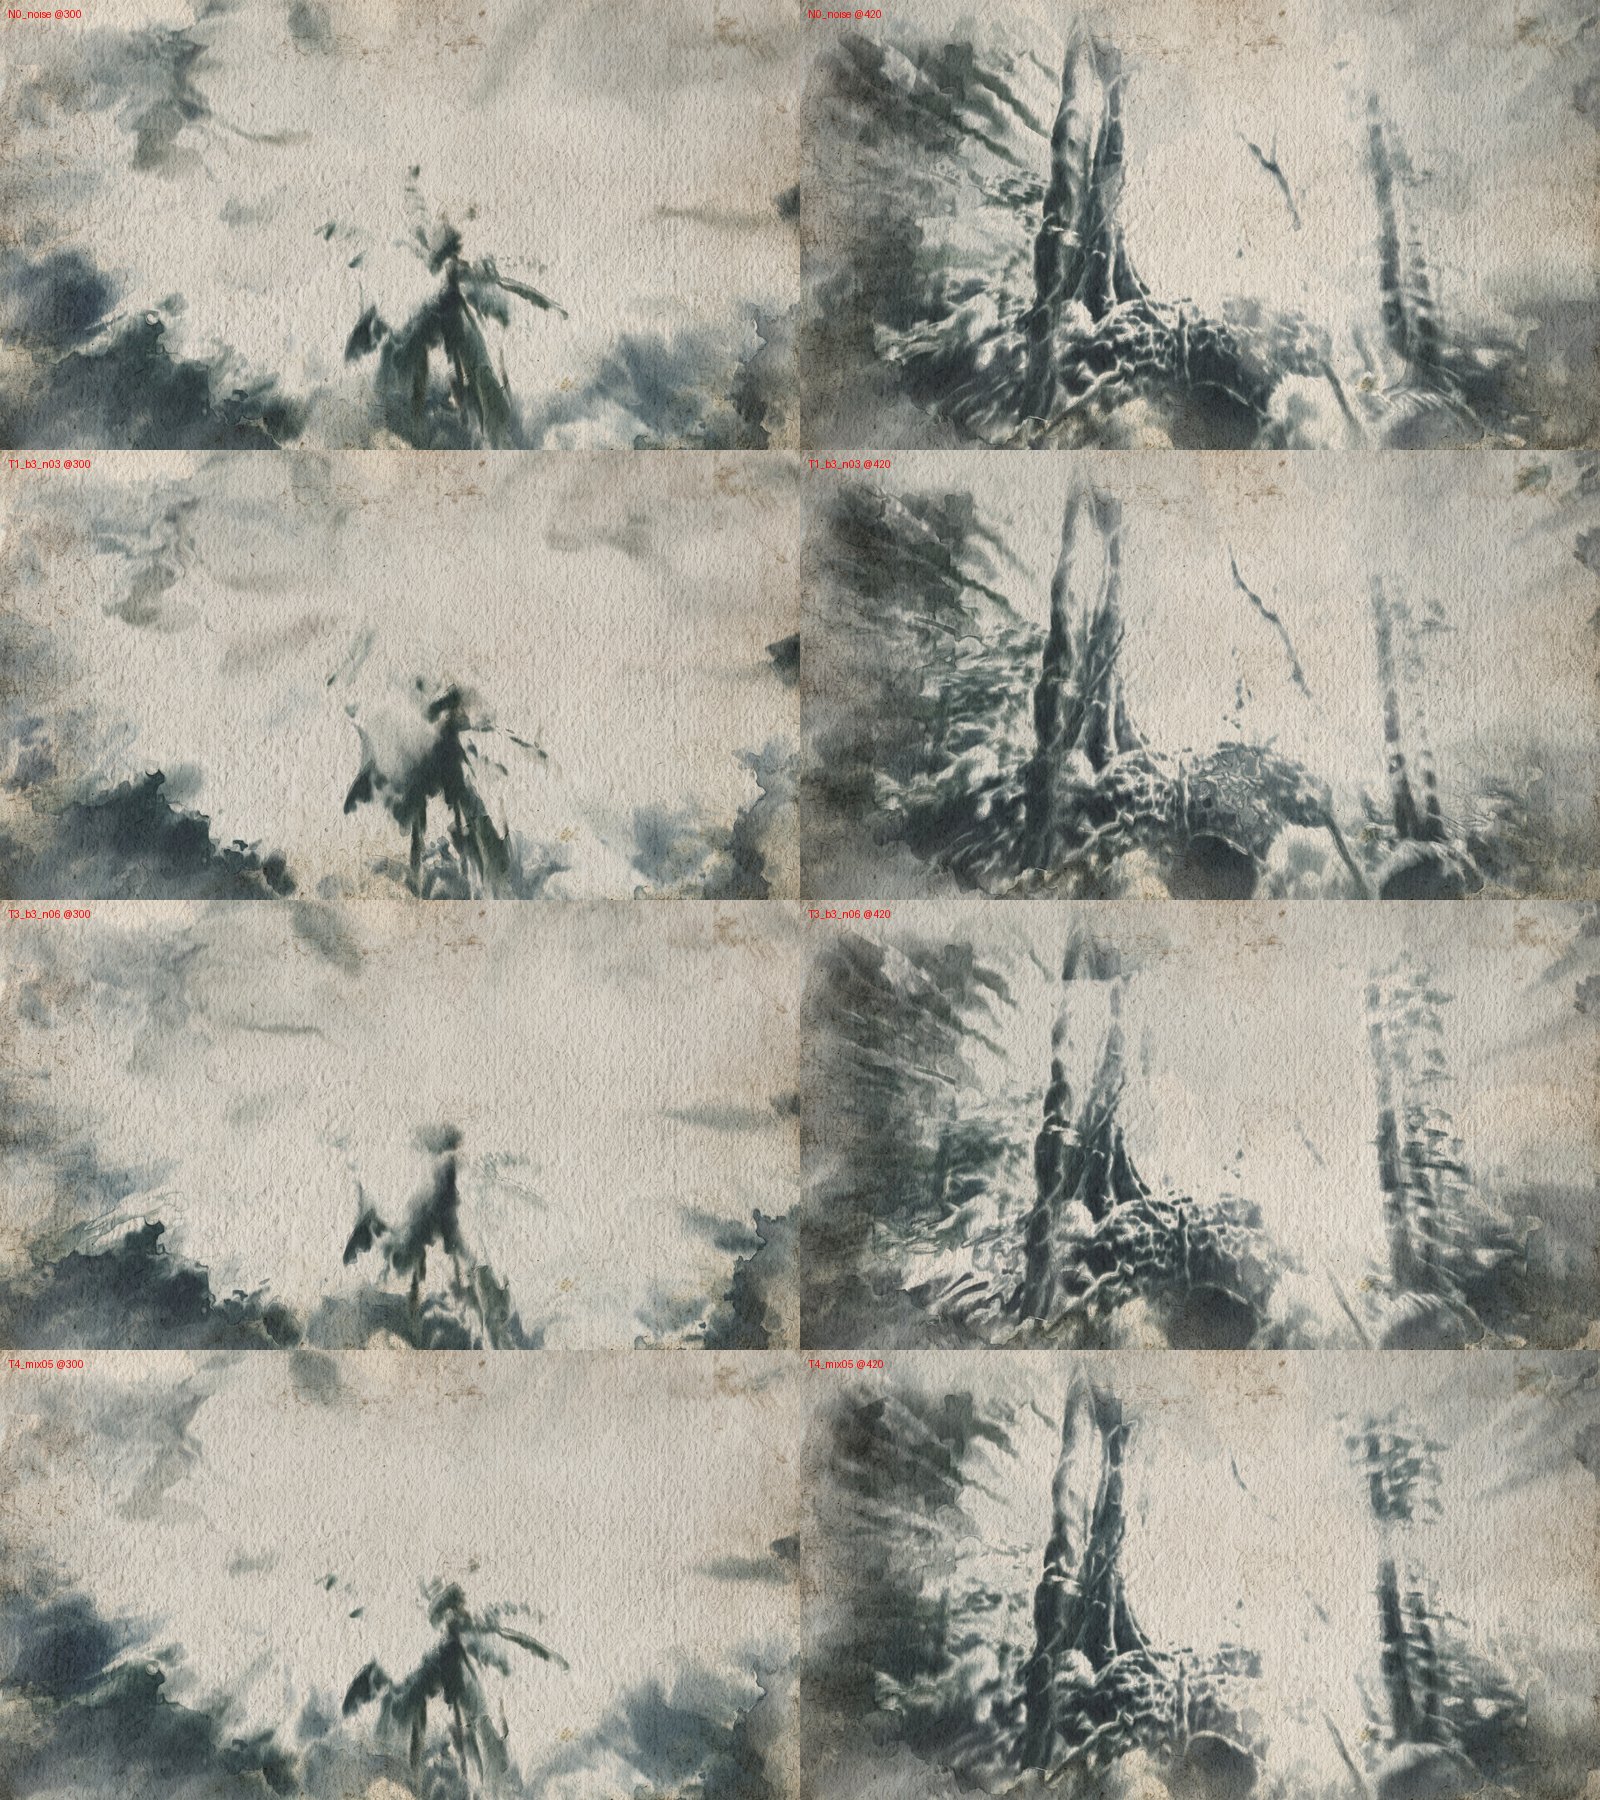
| Repaint dab structure | 0.5 | 0 = dabs cut from noise (blob-shaped), 1 = dabs cut from tone bands of the footage, so a repaint ends on a tone edge the picture already has, like a painter glazing one tone at a time. |
| Repaint tone bands | 3 | Tone bands across black … white for the tone-shaped dabs. |
| Repaint band noise | 0.3 | Noise that breaks a band into strokes. |
| Repaint tone smoothing | 12 px | Blur of the footage before it is cut into bands. |
| Repaint error threshold | 0.15 | How far the painting must drift from the footage before it is repainted. |
wc_engine: Water
The water is the life of a watercolour. Here you set how much water the brush carries, how long the paper stays wet, how far and how wildly the paint flows while it is wet, and how the paper takes the water in.
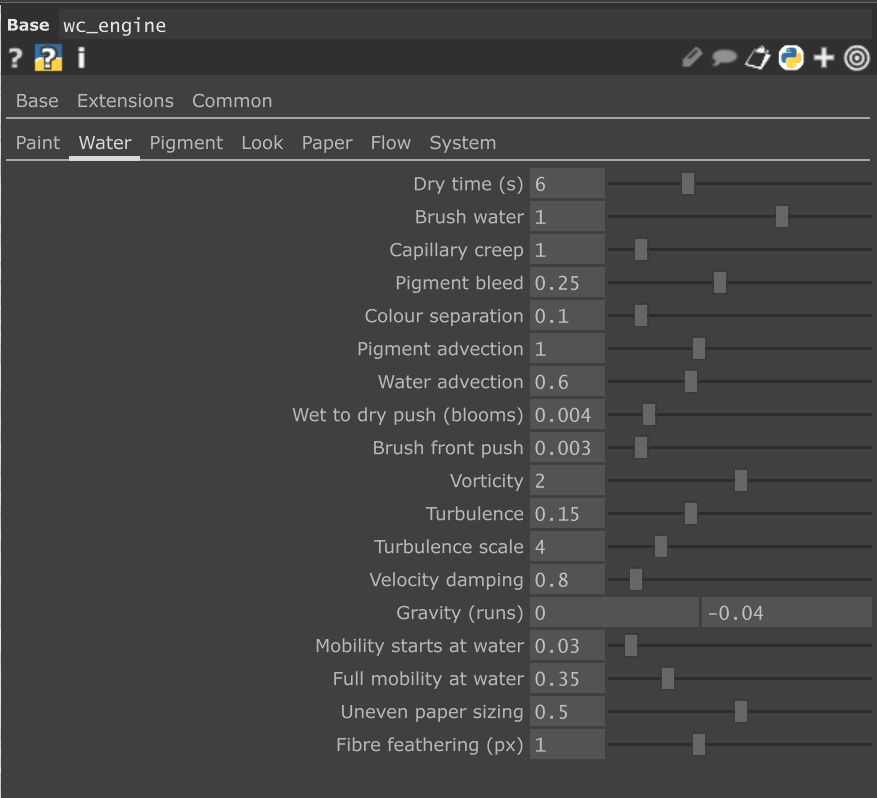
| Control | Default | What it does |
|---|---|---|
| Dry time | 4 s | Until a wash is basically dry. Longer = more time to flow. |
| Brush water | 0.7 | Water laid down by the brush. |
| Capillary creep | 1 | Water creeping into its neighbours through the paper: the puddle slowly widens. |
| Pigment bleed | 0.1 | Pigment spreading inside wet areas. A dry neighbour acts as a wall. |
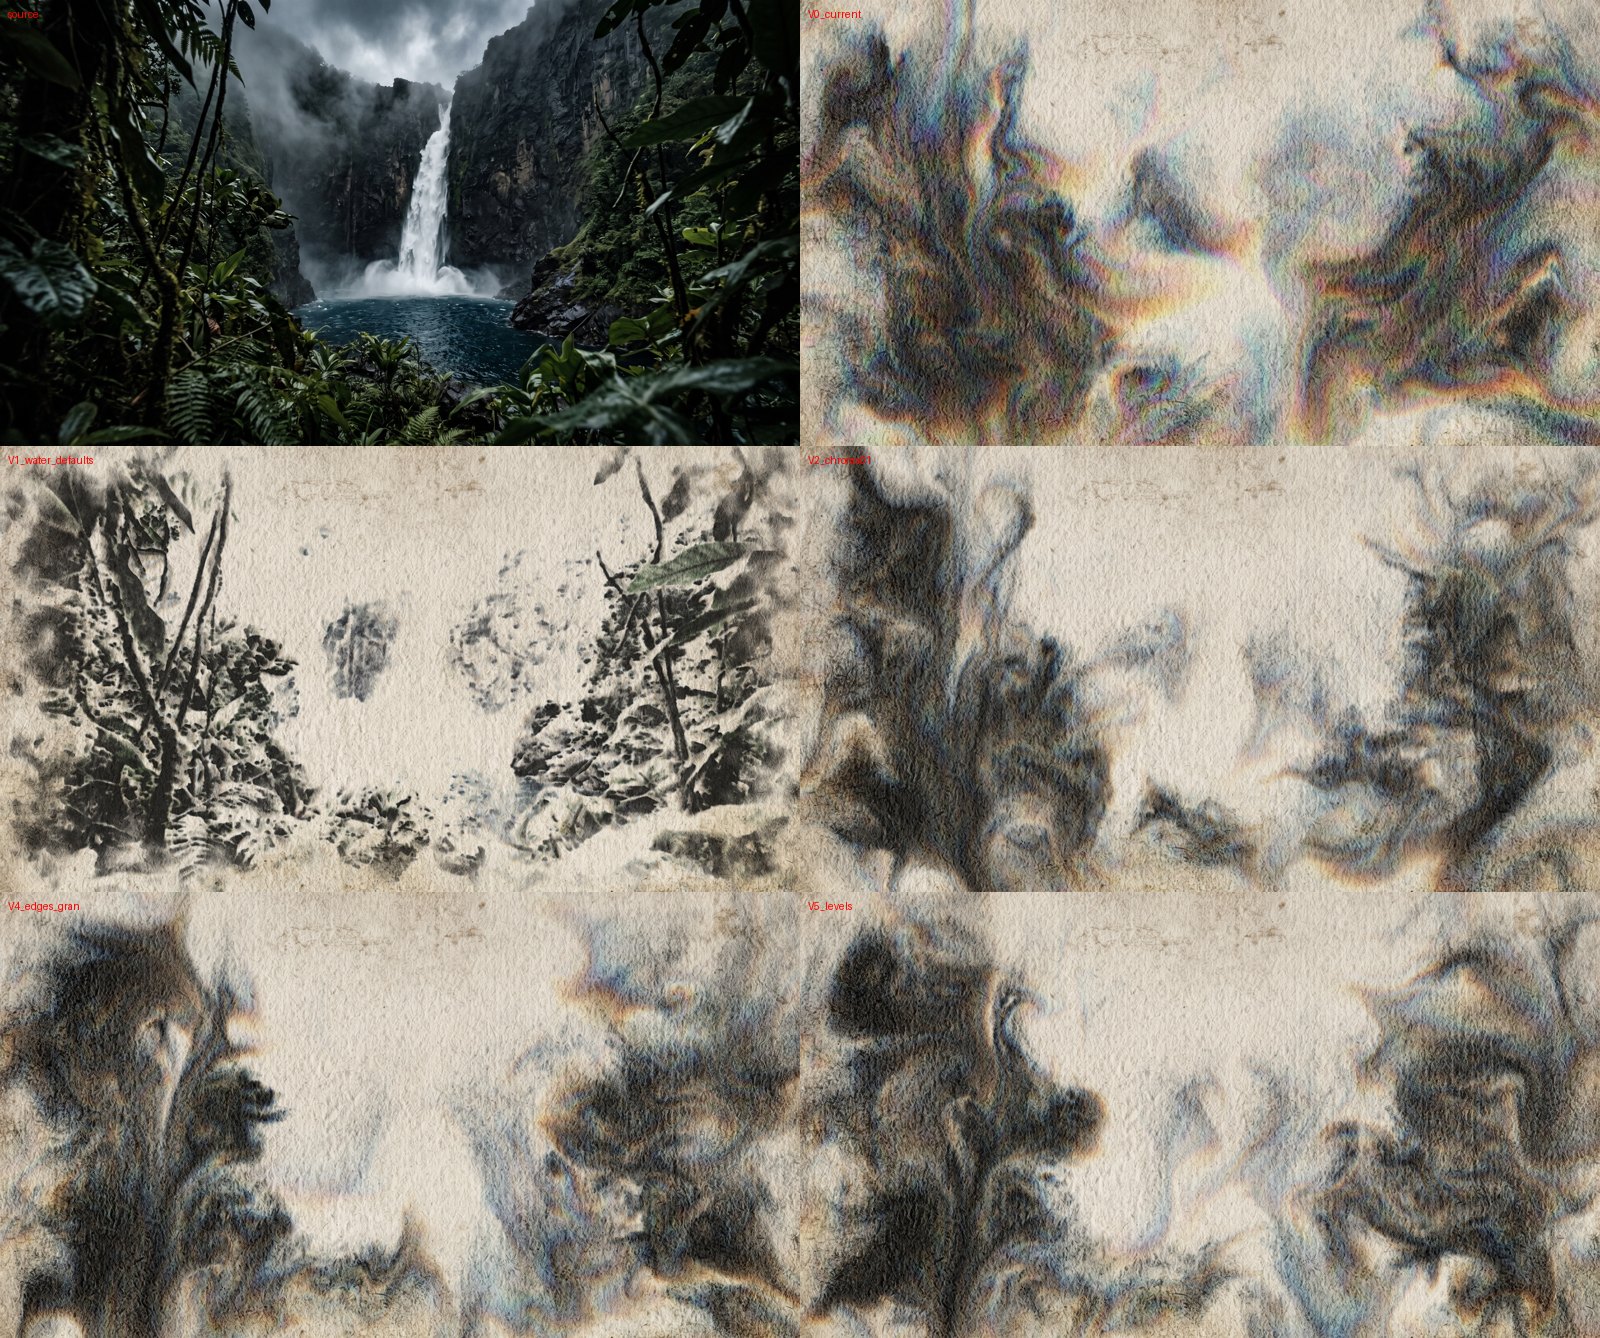
| Colour separation | 0.3 | The colour channels bleed at different speeds (cyan runs further than orange), like a mix of pigments separating in water: coloured halos. Around large bare-paper areas 0.3 shows rainbow fringes; 0.1 keeps a hint. |
| Pigment advection / Water advection | 1 / 0.6 | How much pigment and water ride on the flowing water. |
| Wet to dry push | 0.004 | Water pushed from wet towards dry paper: blooms, backruns, coffee-ring rims. |
| Brush front push | 0.003 | The wet front pushes water outwards. |
| Vorticity | 1 | Keeps small eddies alive. |
| Turbulence / Turbulence scale | 0.05 / 4 | Slow, breathing curl-noise movement of the water. |
| Velocity damping | 1.5 | How quickly the water's motion dies down. Lower = livelier. |
| Gravity | (0, 0) | Runs and drips, as on tilted paper. Negative y = downwards. |
| Mobility starts at / Full mobility at water | 0.03 / 0.5 | The water levels at which paint starts to move and moves freely (wet-in-wet). A lower full-mobility value = more flow. |
| Uneven paper sizing | 0.5 | The paper absorbs unevenly: uneven drying and blooms. |
| Fibre feathering | 1 px | Bleeding follows the paper fibres. |
Water on a still vs. a moving shot. The livelier water of the drone preset (turbulence 0.15, vorticity 2, gravity −0.04, damping 0.8) works on video because repainting keeps pulling the picture back to the footage. On a still nothing pulls it back, and within ten seconds the water stirs everything into marbled swirls. Use the defaults above for stills.
wc_engine: Pigment
What the pigment does once it is on the paper: how fast it reaches its colour, how it settles into the paper as the water dries, and how it can be lifted again.
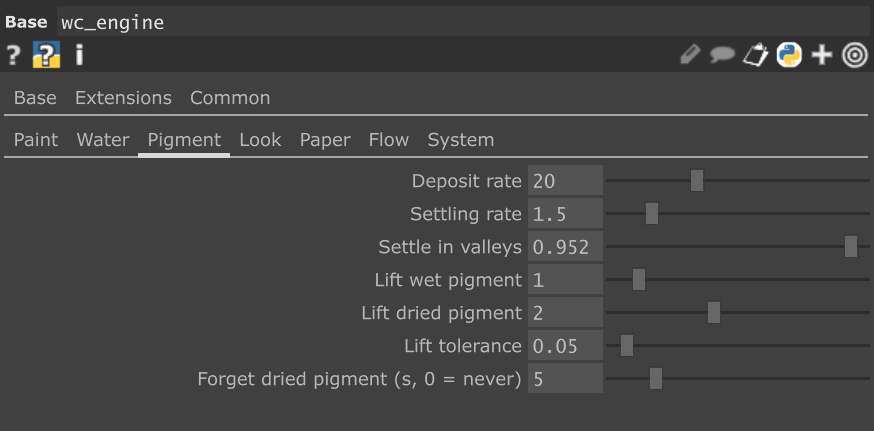
| Control | Default | What it does |
|---|---|---|
| Deposit rate | 20 | How fast the brush brings the paper to the target density (per second). Slower = lighter, less saturated, more water-driven. |
| Settling rate | 1.5 | How fast pigment settles into the paper as it dries. Settled pigment no longer moves with the water. |
| Settle in valleys | 0.5 | Pigment settles faster in the paper's valleys: granulation. |
| Lift wet pigment | 1 | A wet brush lifts pigment where the paper is darker than the target. |
| Lift dried pigment | 0.3 | Re-wetting lifts dried pigment. 2 on moving shots. |
| Lift tolerance | 0.05 | How much darker than the target is accepted before lifting. |
| Forget dried pigment | 0 s | Dried pigment fades out over this time (0 = never). 5 s on moving shots, so old scenes do not pile up into mud. |
wc_engine: Look
How the pigment on the paper is shown: how dark and transparent the paint looks, how much the edges and the paper texture show.
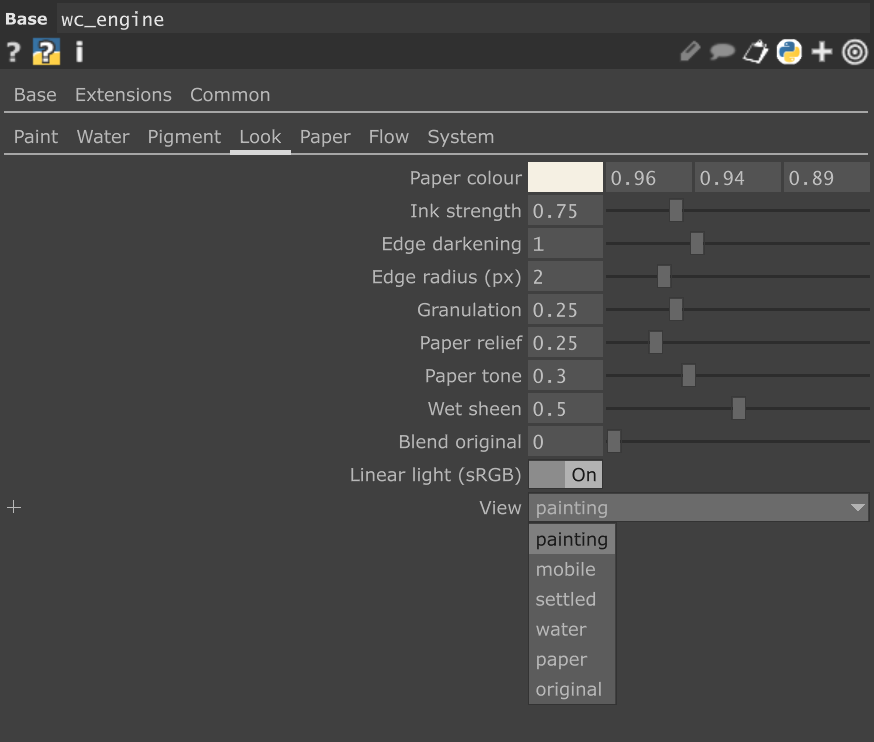
| Control | Default | What it does |
|---|---|---|
| Paper colour | (0.96, 0.94, 0.89) | Paper white. A pixel of this colour in the footage becomes bare paper. |
| Ink strength | 1 | Overall darkness of the pigment. 0.75 reads more transparent. |
| Edge darkening / Edge radius | 0.6 / 2 px | Pigment pooling at the border of a wash (see Edge darkening above). |
| Granulation | 0.25 | Pigment in the paper's valleys, speckled by the fibres. |
| Paper relief | 0.25 | The paper's bumps, lit from the top left. |
| Paper tone | 0.5 | Tonal variation of the paper. |
| Wet sheen | 0.5 | Damp areas read slightly darker and cooler. |
| Blend original | 0 | Mixes the footage back in. |
| Linear light | on | Pigment is mixed in linear light (correct Beer–Lambert). |
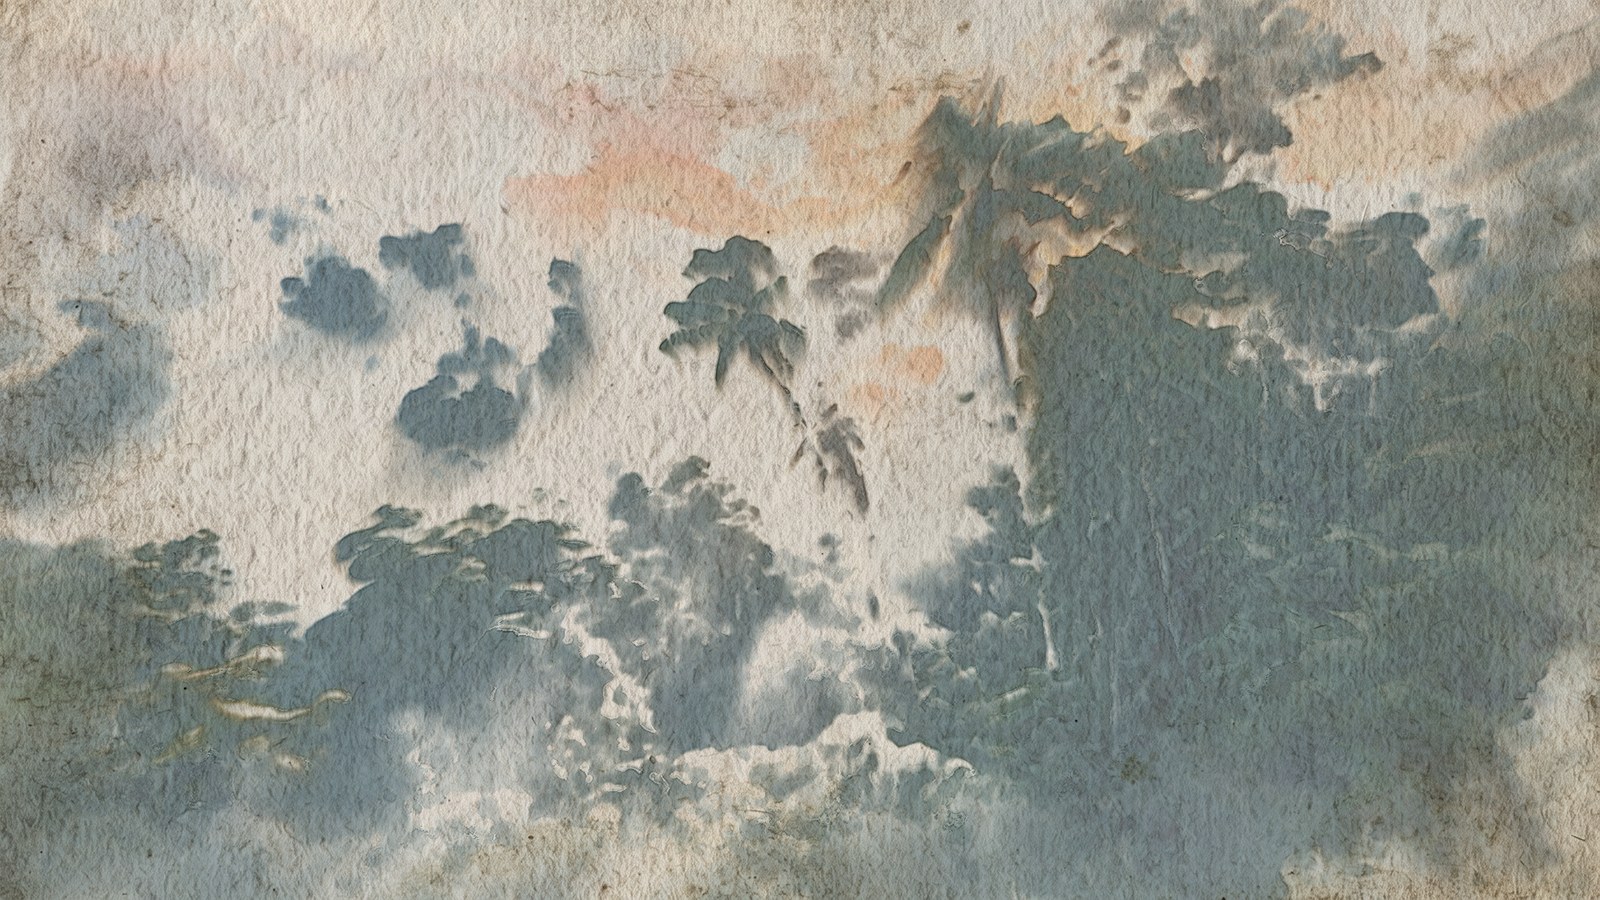
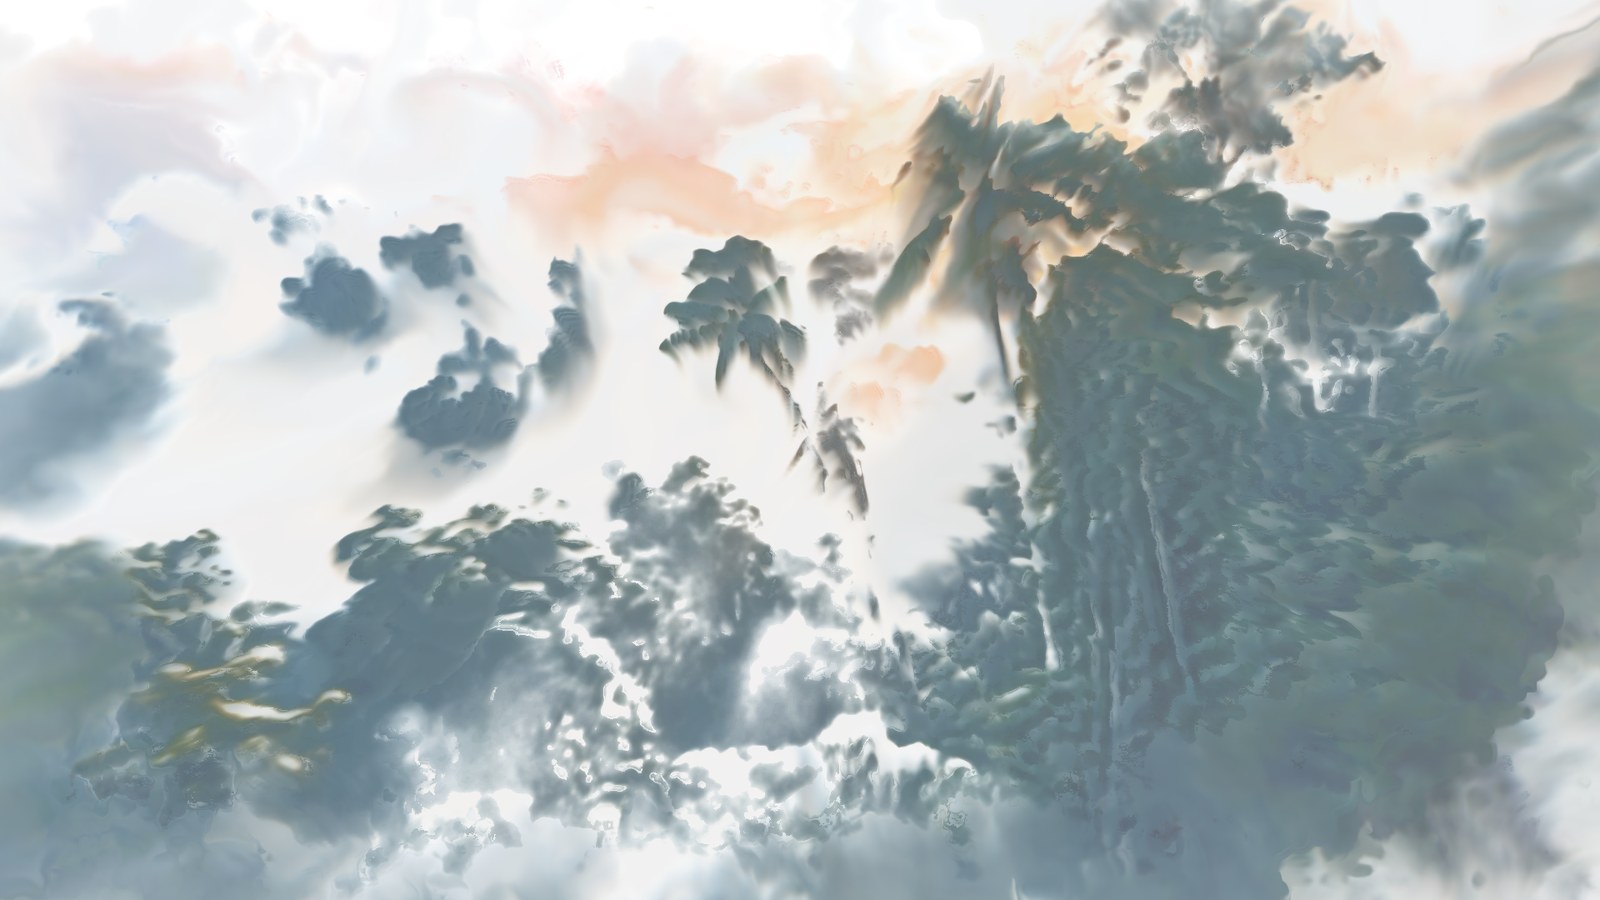
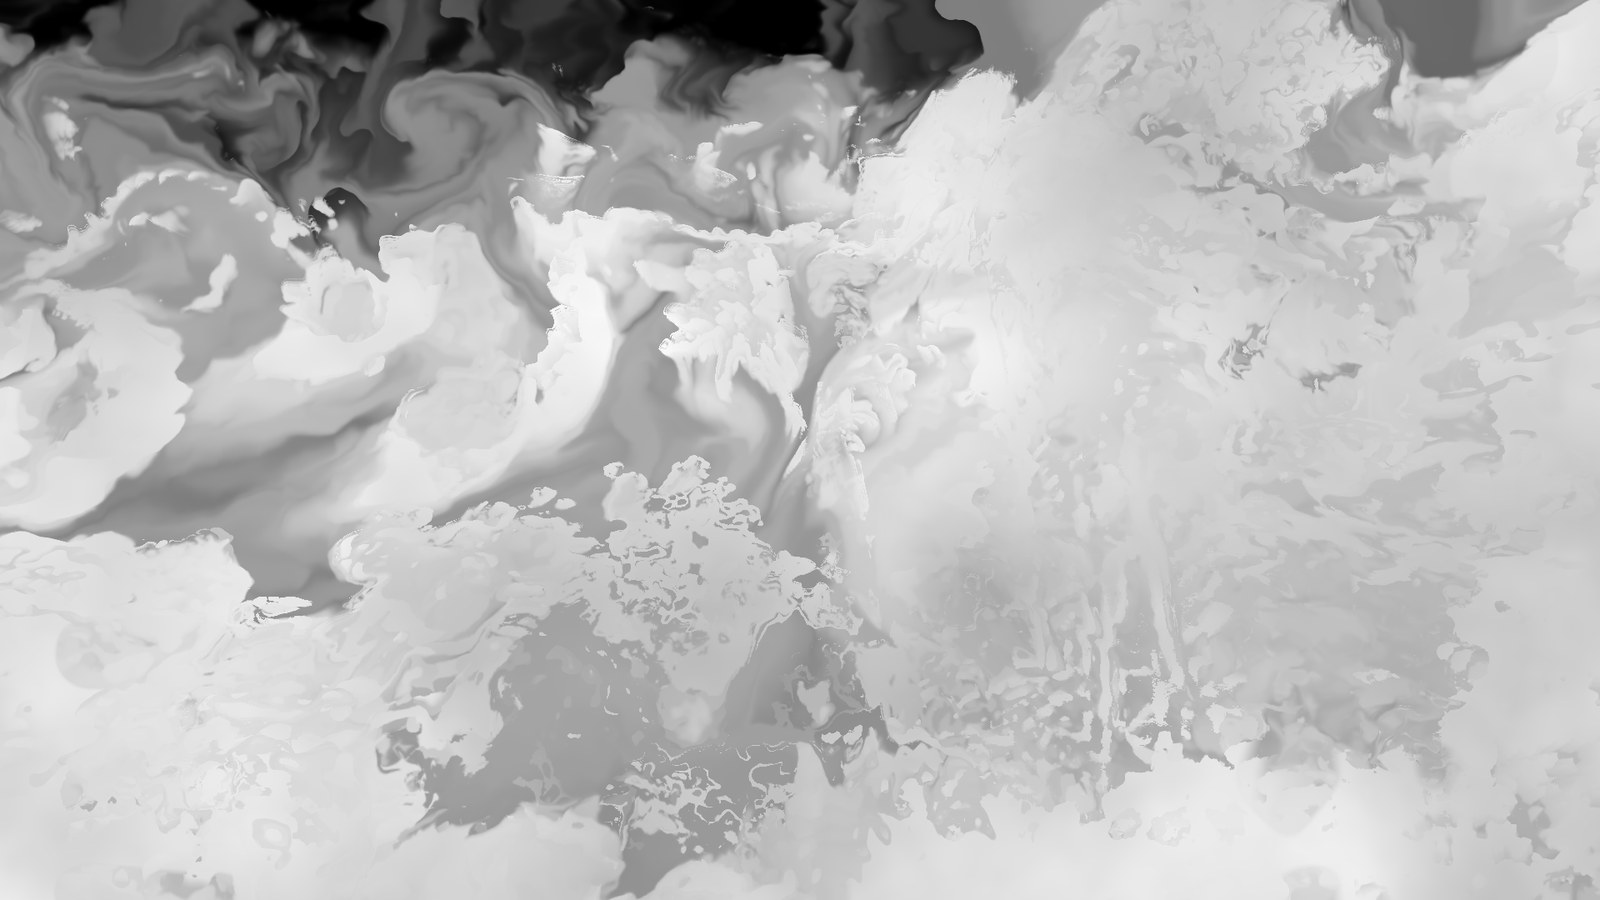
| View | painting | Debug views: mobile pigment, settled pigment, water, paper, original. |
wc_engine: Paper
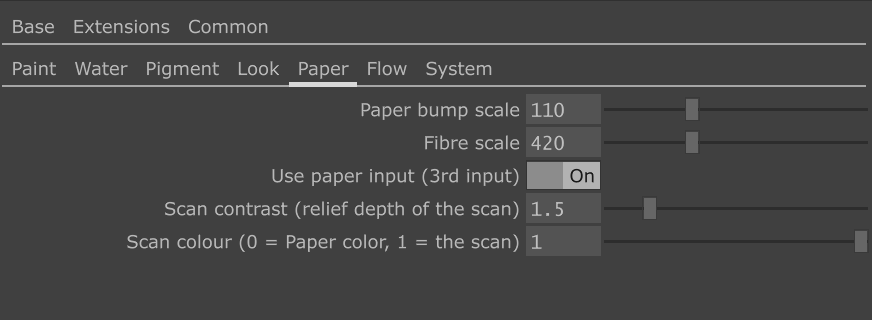
| Control | Default | What it does |
|---|---|---|
| Paper bump scale | 110 | Cold-press bumps across the frame height (procedural paper). |
| Fibre scale | 420 | Fibre frequency. |
| Use paper input | off | Use the scan on input 3 instead of the procedural relief. |
| Scan contrast | 3 | Relief depth taken from the scan. The scan's local average is removed first, so uneven lighting of the photo does not read as a slope. A photo's relief is much shallower than the procedural one: 2.7 matched it on our test scan. |
| Scan colour | 1 | 1 = the paper takes the scan's colour and tone (stains, ageing, browned corners), 0 = Paper colour. |

wc_engine: Flow (moving shots)
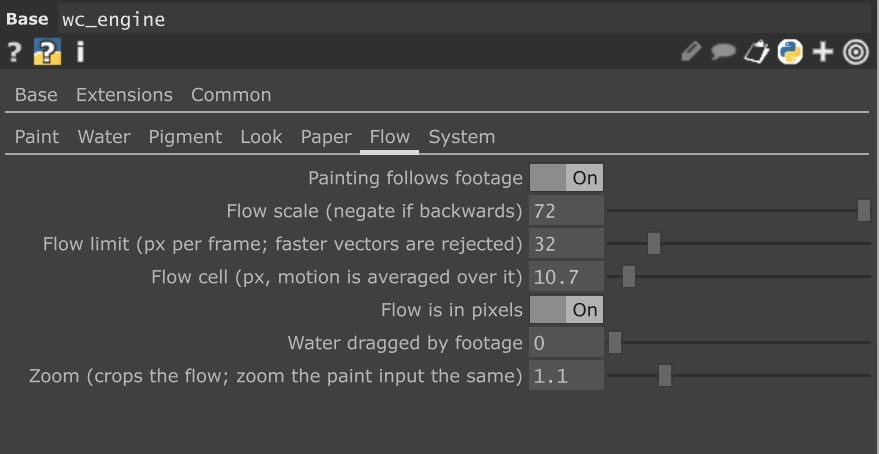
| Control | Default | What it does |
|---|---|---|
| Painting follows footage | off | Turn on for a moving camera: the painting travels with the optical flow. |
| Flow scale | 72 | Converts TouchDesigner's Optical Flow TOP output to pixels. Calibrated: the raw flow is about 1/72 of the real motion; with 1 the painting barely moves and everything turns to mud. |
| Flow limit | 32 px | Vectors faster than this per frame are rejected, not clamped. |
| Flow cell | 32 px | The motion is averaged over cells of this size. Larger = looser, smoother flow. |
| Zoom | 1.0 | Keeps the centre of the flow. Zoom the paint input by the same amount (the rig's zoom does it), so the noisy flow at the frame border falls outside the picture. 1.1 in the rig. |
| Flow is in pixels | on | Keep on for the Optical Flow TOP. |
| Water dragged by footage | 0 | Lets the camera motion drag the water itself. |
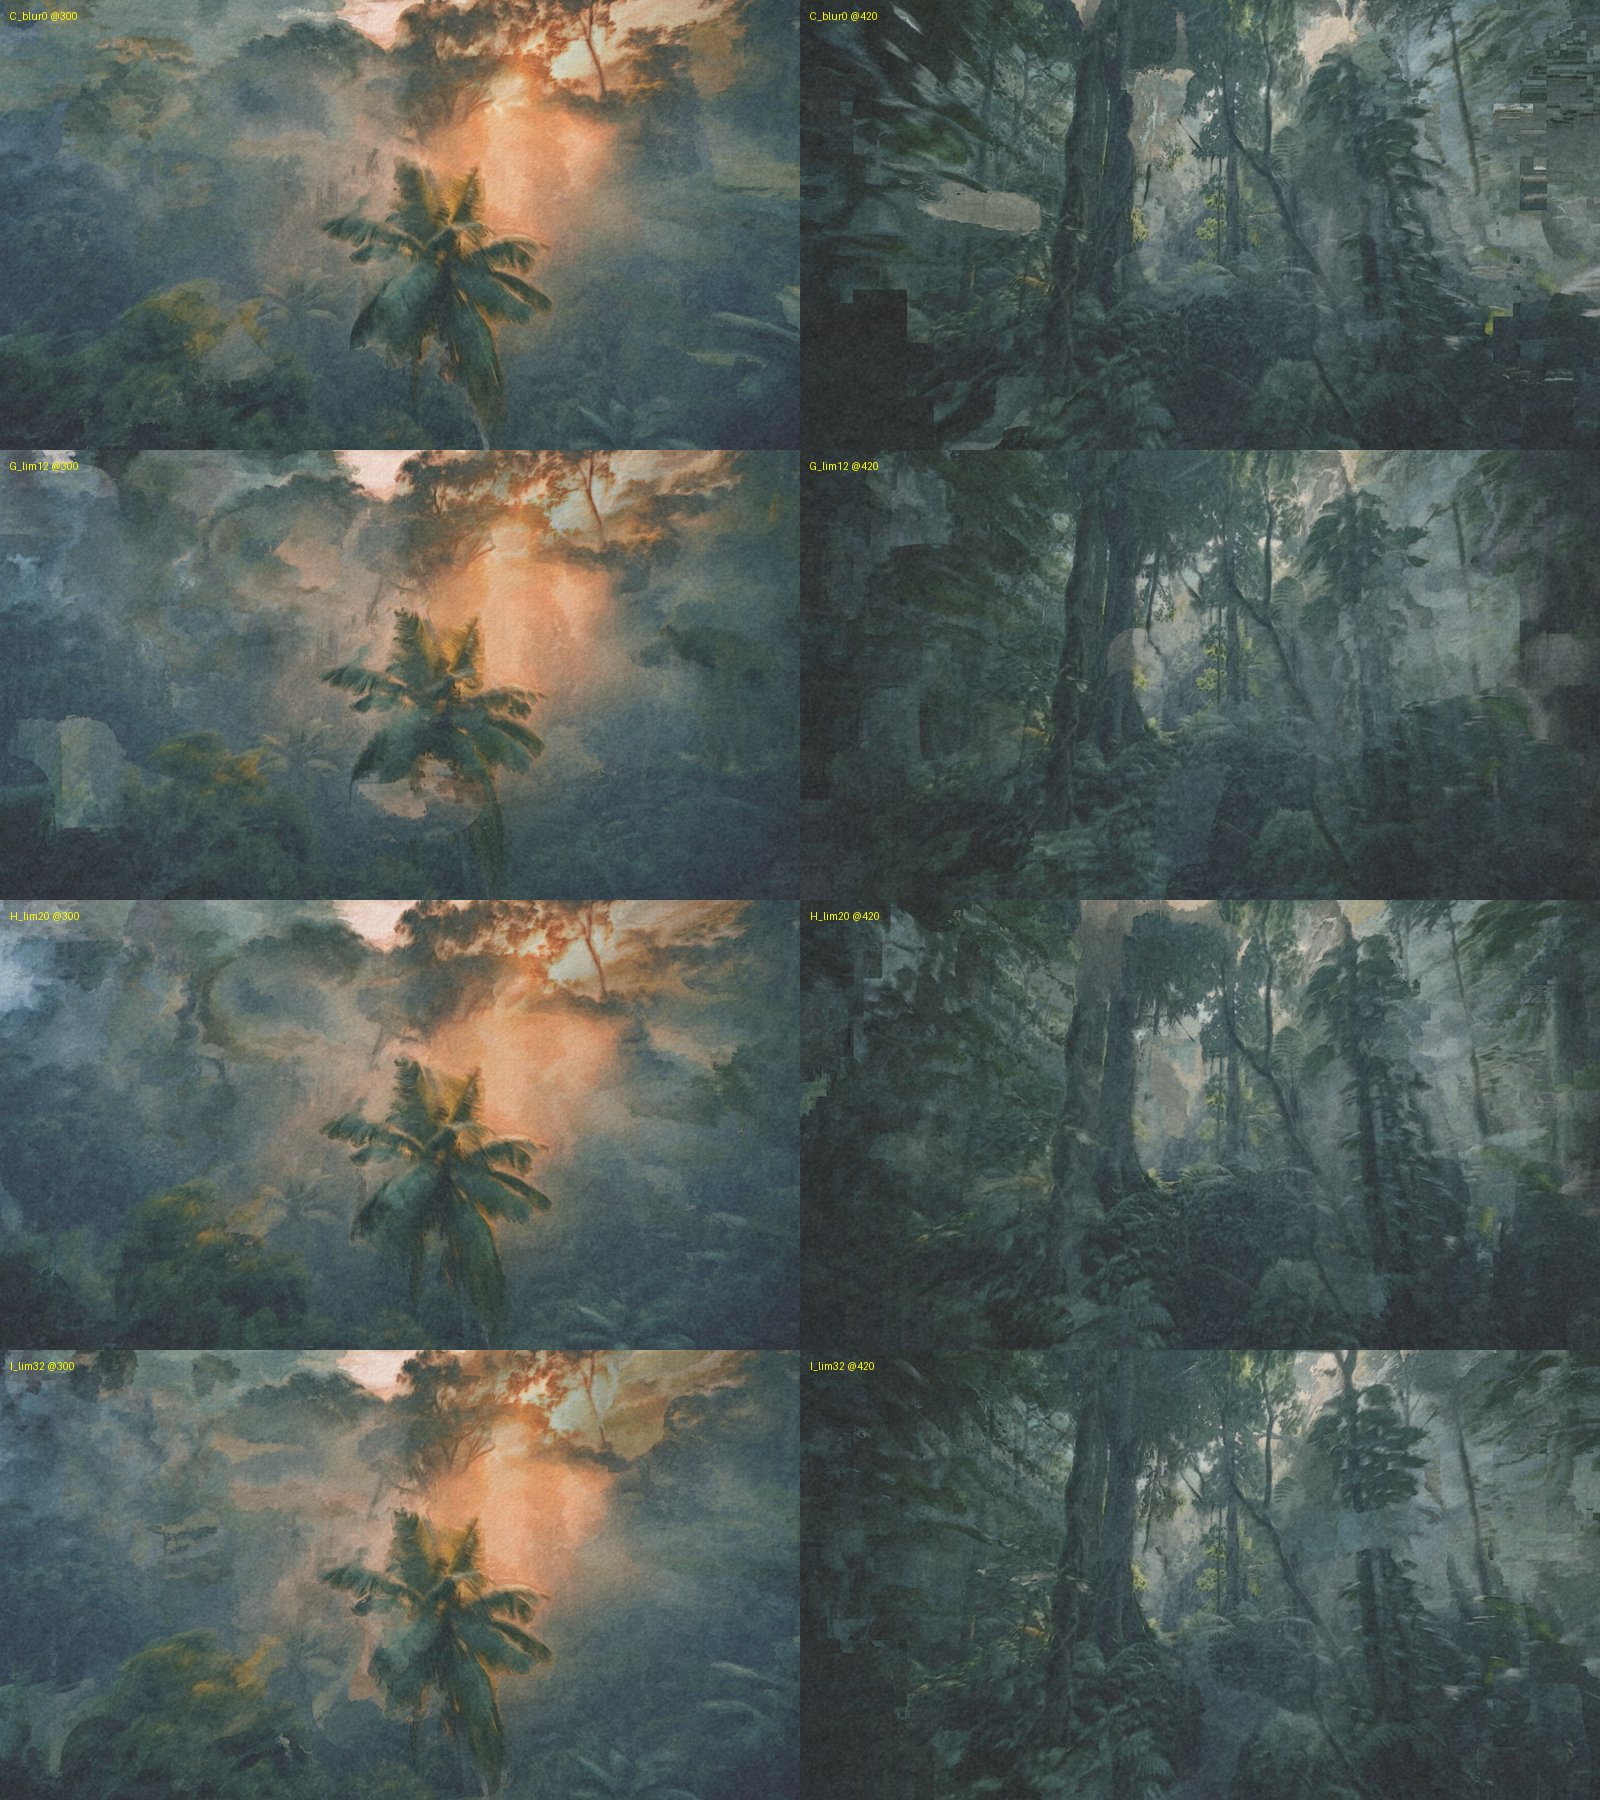
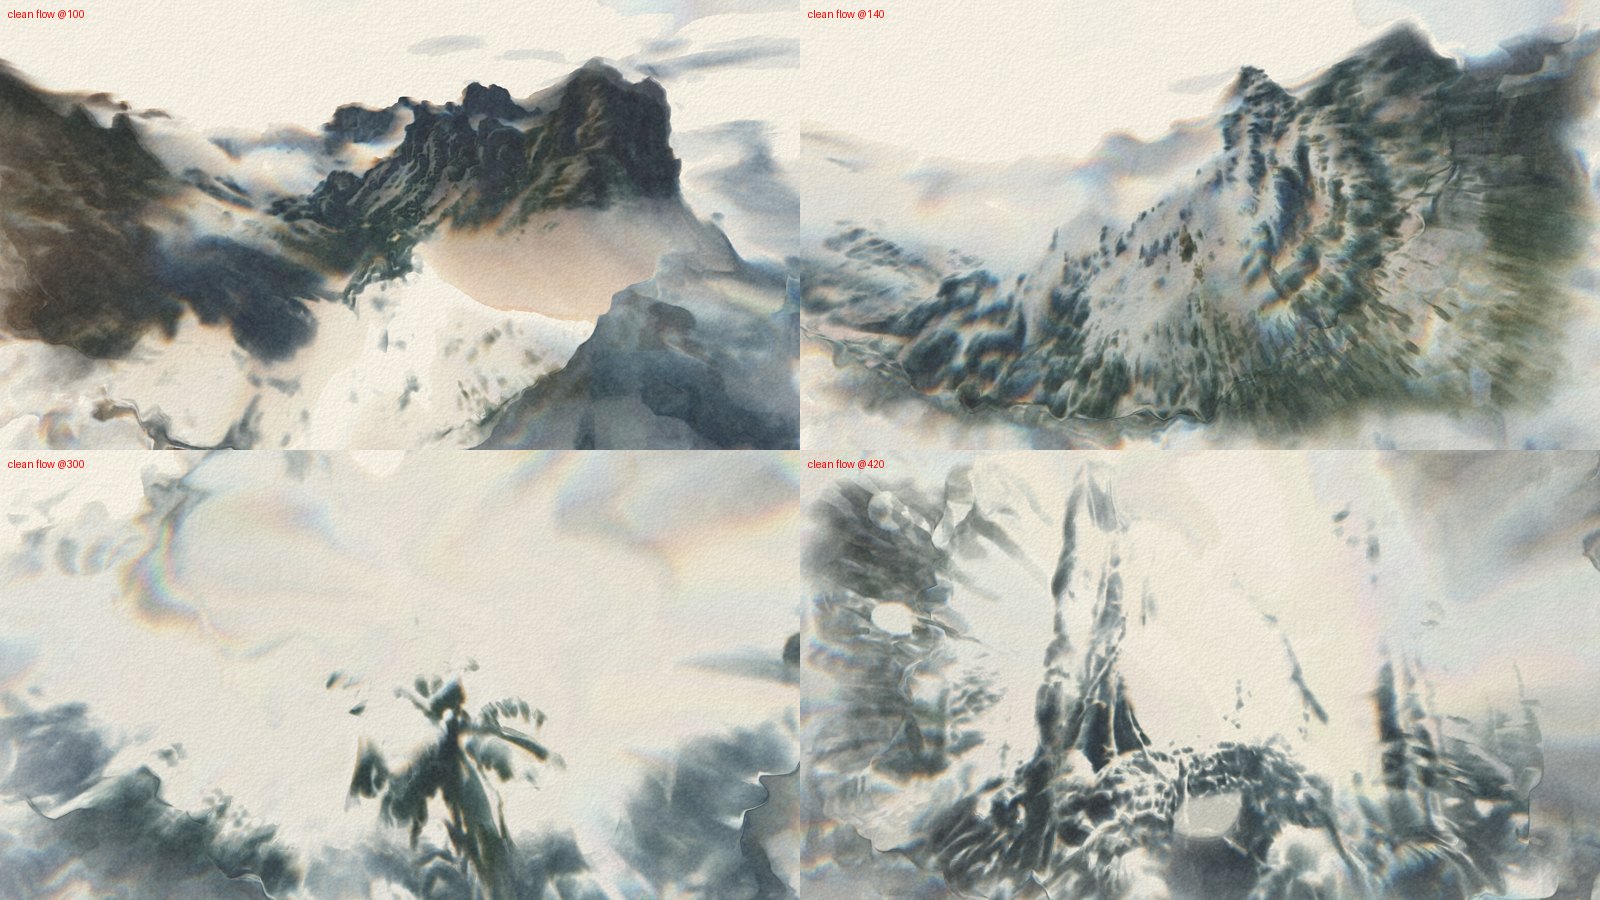
Why the flow is cleaned (measured). Compared with phase correlation on the footage, the NVIDIA flow is right on average but full of per-pixel outliers, up to 250 px per frame where the real motion is 3–23 px. Clamping them shoved whole blocks of paint (staircase artefacts). Rejecting outliers and averaging over cells cut the per-pixel flow error from 6.2 px to 3.7 px and removed the blocks. Blurring the flow did not help: it smeared the outliers instead of dropping them.
wc_engine: System
| Control | Default | What it does |
|---|---|---|
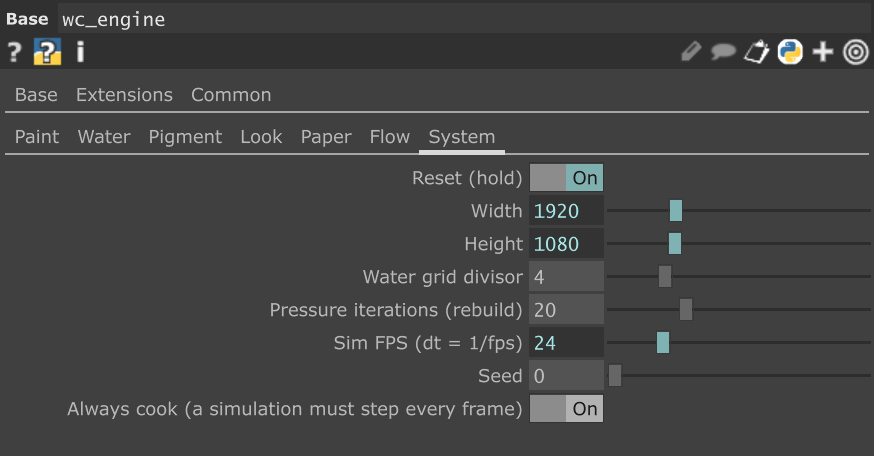
| Reset (hold) | off | Clears the paper. In the rig it is the expression me.time.frame <= 2, so every run starts from blank paper. |
| Width / Height | from input | Follow the paint input. |
| Water grid divisor | 4 | The water runs at 1/4 resolution. Use 8 for 4K. |
| Pressure iterations | 20 | Pressure solver steps. Needs a rebuild of the network. |
| Sim FPS | project fps | The time step. Keep it equal to the footage frame rate. |
| Seed | 0 | Different paper and noise. |
| Always cook | on | Steps the simulation every frame even when nothing is looking at it. TouchDesigner only cooks what something pulls; without this an unwatched engine stops and then jumps, which shows as ghosting. |
Recommended settings
Both are saved in presets/ and can be loaded on the Presets page.
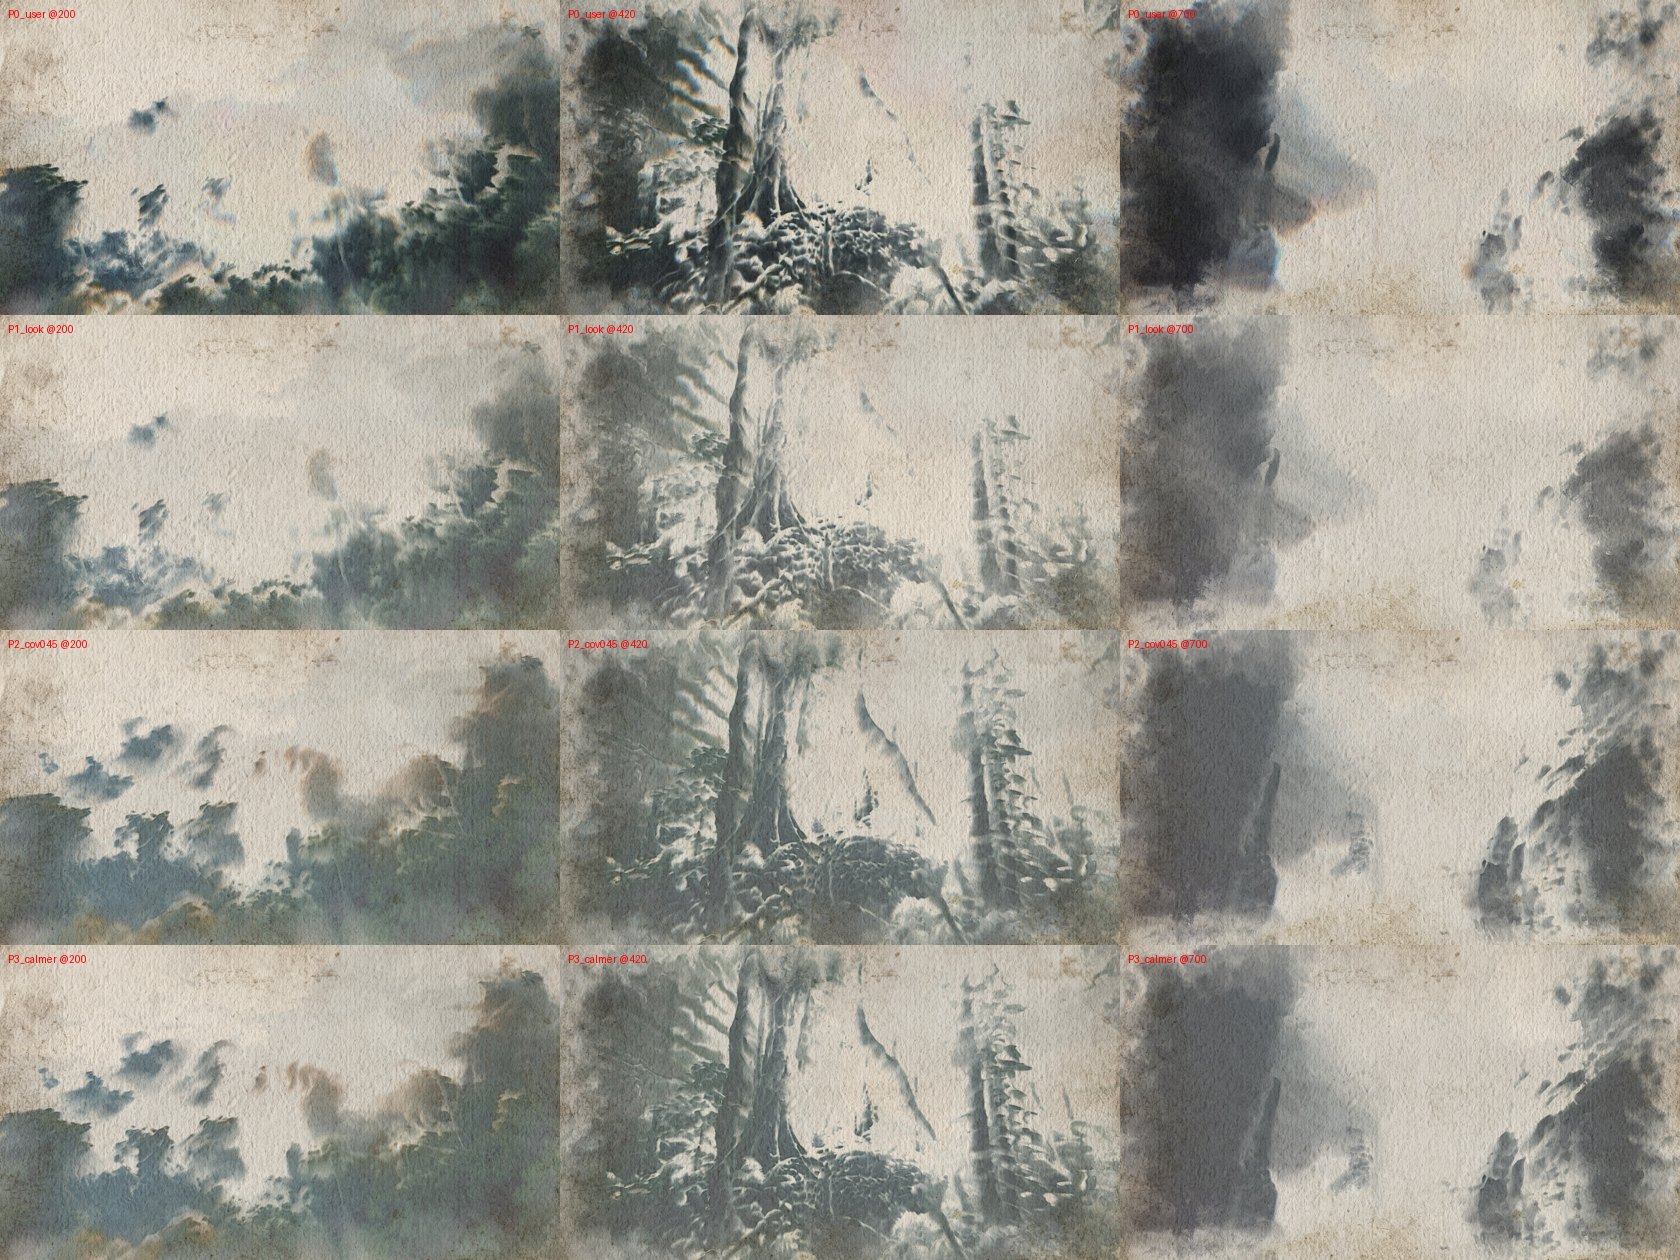
Video, moving camera (video_export.json) |
Still image (still_x3.json) |
|
|---|---|---|
| Progress | over 24 frames | over 150 frames, dry until ~240 |
| Painting follows footage | on | off |
| Repaint changes | 0.85 | 0 |
| Forget dried / Lift dried | 5 s / 2 | 0 / 0.3 |
| Water | turbulence 0.15, vorticity 2, gravity y −0.04, brush water 1, full mobility 0.35, dry time 6, bleed 0.25, damping 0.8 | the defaults |
| Look | colour separation 0.1, ink strength 0.75, max density 2.5, edge darkening 1, granulation 0.25, paper tone 0.3 | the same, wash level mix 0.6 |
| Paper scan | scan contrast 1.5, scan colour 1 | the same |
| prep | paint coverage 0.45, zoom 1.1 | paint coverage 0.45 |
How they were chosen. For video we measured how recognisable the picture stays (correlation of output and footage luminance, frames 100–700): a hand-tuned set 0.58, the still-image look on its own 0.55, the same with paint coverage 0.45 0.64. Calmer water also gave 0.64, so the bolder flow stayed. Very dark scenes (a cliff wall in shadow) wash into a dark blot with every setting.
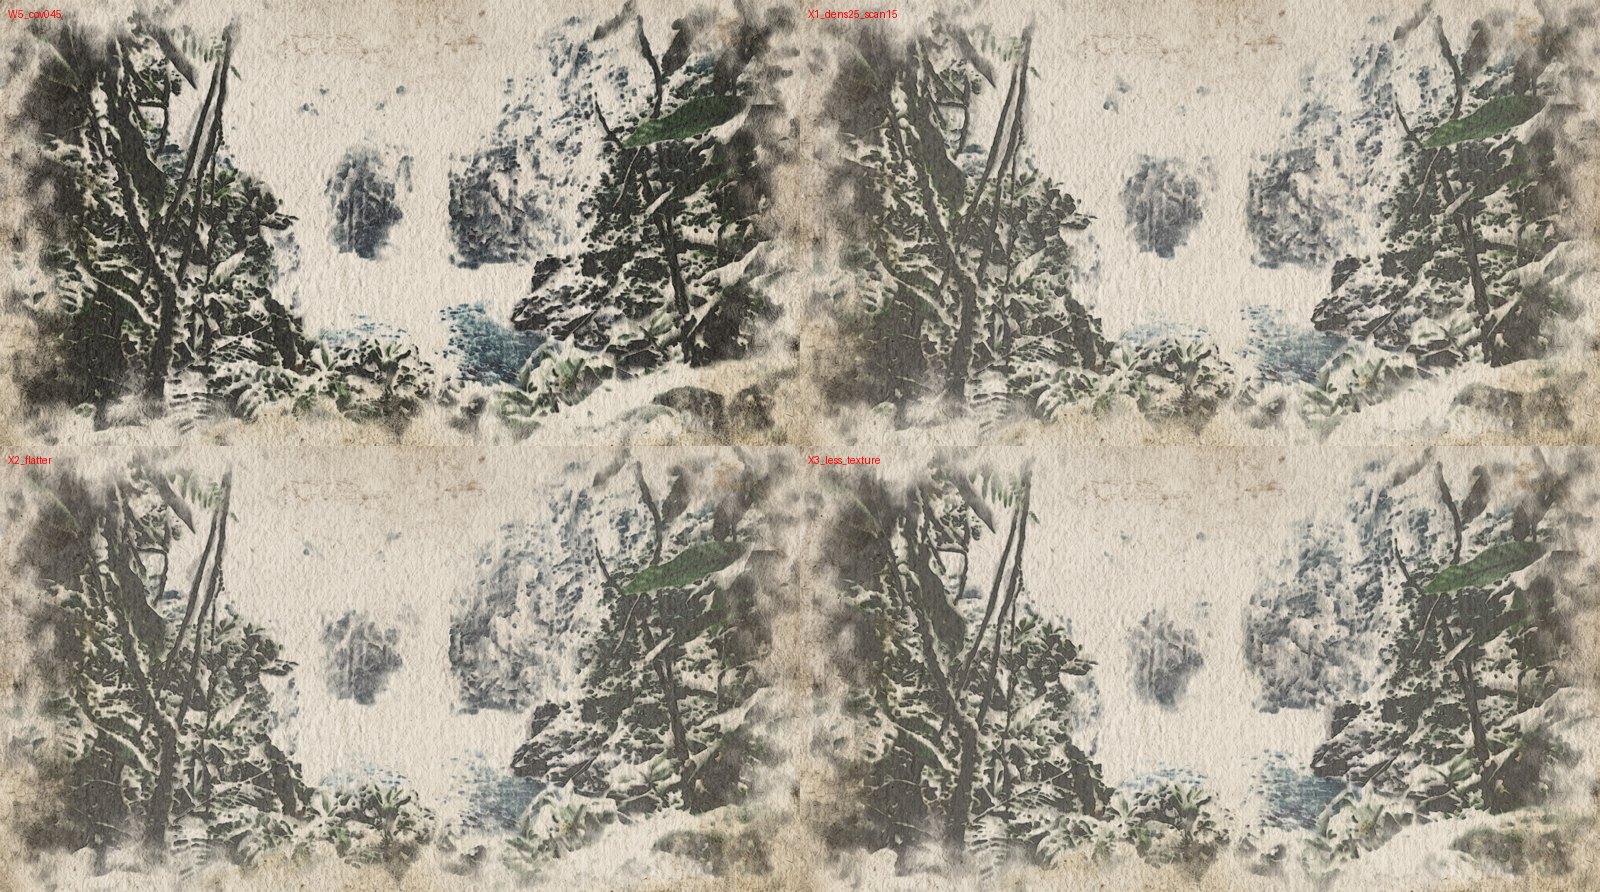
For the still we compared variants by eye against the traits above: bare-paper whites, transparent layers, soft and hard edges, no black, no rainbow fringes.
Rendering a video
- Realtime off: untick Realtime in the top bar. In realtime TouchDesigner skips frames when it falls behind, and the simulation steps with the wrong time.
video→ Play Mode: Locked to Timeline. The timeline runs from 1 to the length of the clip; the project frame rate matches the footage.- Reset is automatic at timeline frames 1–2.
- Repeatable renders: the shaders take their time from the timeline, and the automatic threshold does not carry smoothing over from a previous run. Two renders of frame 60 differed in 55 of two million pixels (0.003 %, scattered): GPU and optical-flow noise, invisible.
export(Movie File Out, afterOUT): ProRes 4444 XQ, file name with a unique suffix. Its length is limited to the timeline, so recording stops by itself. (Without the limit the timeline loops back to frame 1 and the recording keeps going.) For an image sequence use EXR or 16-bit TIFF.- Set the timeline to play once instead of looping, so it stops at the last frame.
- Timeline to frame 1, Record on, Play.
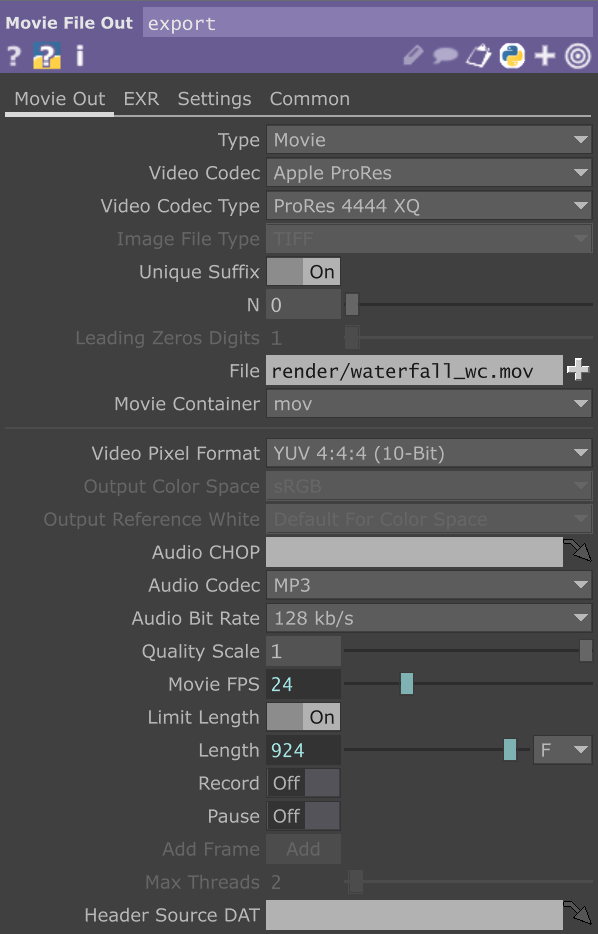
Tuning in realtime is fine: keep video on Locked to Timeline and let the timeline loop, so the automatic Reset always falls on the start of the clip. With a Sequential movie the clip runs independently of the timeline, and the Reset would restart the painting in the middle of the shot.
Saving a still
- In
still_test, load the image into thestillMovie File In. The engine runs at the image's own resolution. - Load
presets/still_x3.json(no flow, no repaint, calm water). - Timeline to frame 1, Play. Progress lays down three glazes over 150 frames; by about frame 240 the paint has dried.
- Right-click
OUT→ Save Image (16-bit TIFF or EXR), or a Movie File Out with Type: Image and Add Frame.
still_test's engine has Always cook off, so it only works while you look at it and does not slow the video rig down. If its view is not on screen, switch it on.
Troubleshooting
- The mask does not change when I adjust the key: check Bypass, then Auto threshold (Levels and gamma have no effect while it is on), then Key mix (at 0 the opposite key is not used).
- Staircase blocks at the frame edges: the flow. Keep Flow limit and Flow cell on; raise Flow cell for looser motion.
- Ghosting, the painting lags and jumps: the engine is not stepping every frame. Turn Always cook on.
- Everything turns to grey mud on a moving shot: Flow scale is wrong (it must be around 72 for the Optical Flow TOP), or Forget dried pigment is 0.
- The first seconds look dimmed and frozen: the reveal is too long for a moving shot. Let Progress run over about 24 frames.
- Rainbow fringes: lower Colour separation.
- Blobs that pop in and out: repaint dabs. Try Repaint dab structure between 0 and 1 and watch it play; a still frame does not tell.
- The paper scan is barely visible: Use paper input on, Scan colour 1, Scan contrast 1.5–3.
Credits
J. Stam, Stable Fluids (1999) · Curtis et al., Computer-Generated Watercolor (SIGGRAPH 1997) · J. Whitaker, inkwash.